Speeed Named the Best Hero Combinations in Dota 2 Patch 7.41f
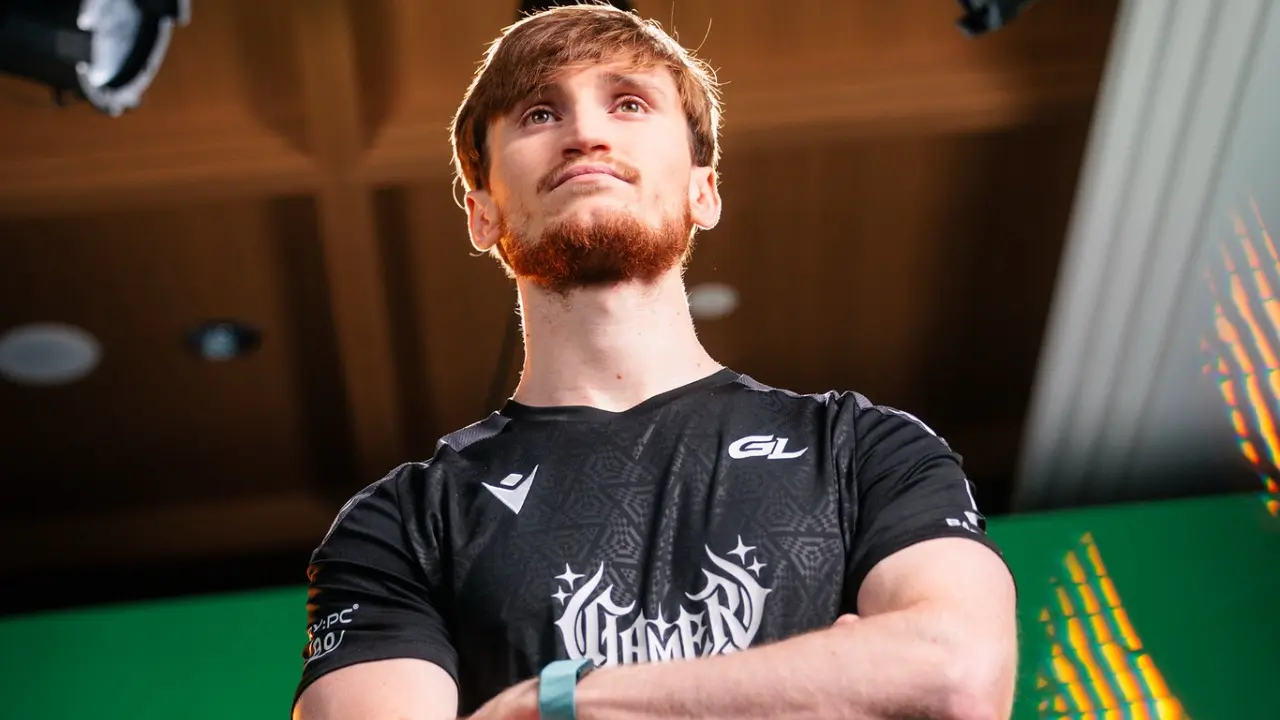
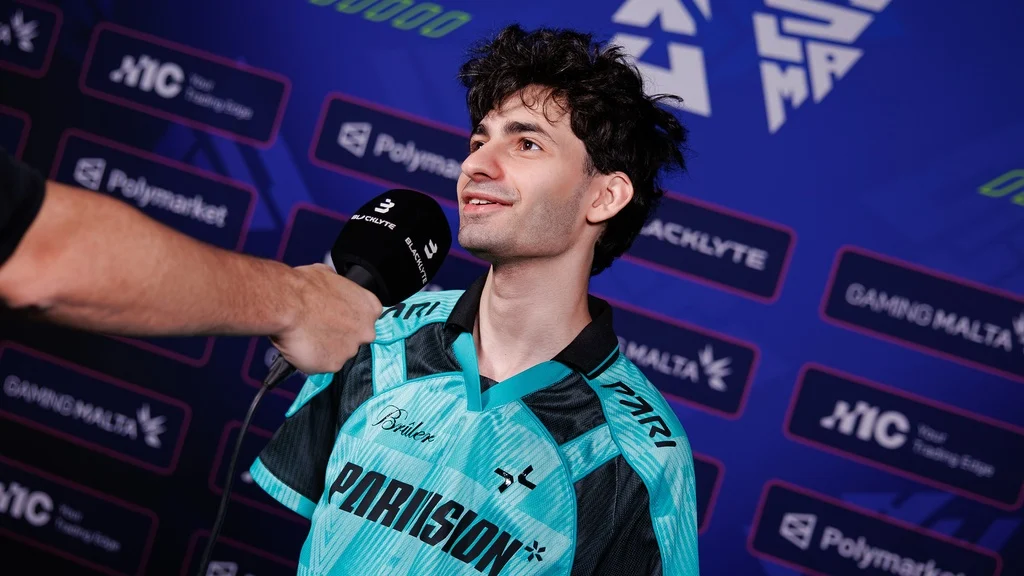
GamerLegion support player Paul “Speeed” Boccicchio named the best hero combinations in Patch 7.41f in a video on his personal YouTube channel.
Dazzle and Nature’s Prophet
If you position the Ents right up against the enemy and cast Shadow Wave, it becomes one of the most powerful abilities in the game. Even at level 1, it deals 170 damage if it hits an enemy from two Ents. At the same time, it heals the Ents and grants them armor, allowing them to withstand attacks much better. It also heals Dazzle. And all this with a 10-second cooldown. <…>
If you’re playing Dazzle, ask Nature’s Prophet to control the creeps. Control the Ents and position them so that Shadow Wave hits its targets. This will allow you to confidently win the fight for the large and small camps and trade with a significant advantage.
Bounty Hunter and Witch Doctor or Lich
I believe Bounty Hunter should max out his invisibility to consistently apply stuns. At max level, this adds up to a total of 3.2 seconds of stun. All you need is a little extra damage. That’s where Lich and Witch Doctor come in—two supports with some of the highest damage output in the game. With Maledict and Death Ward—or with the Lich’s ultimate, if his ice pillar from Aghanim’s Shard, a group of creeps, or another hero is nearby—you can kill literally anyone. <…>
With Aghanim’s Shard, Bounty Hunter can make an ally invisible, and his attack upon emerging from invisibility will also stun the enemy. <…> With Lich or Witch Doctor, you can team up and confidently take down anyone. By the way, Track boosts damage.
Dragon Knight and Mirana
Dragon Knight has an area-of-effect stun. Long-lasting area-of-effect stuns like Dragon Tail are very powerful: all you need to do is add one more stun and a little damage. <…>
Sometimes it’s hard for Dragon Knight to get away from enemies. Moonlight Shadow helps him initiate the fight: you keep him stunned with an arrow, use Moonlight Shadow, and both of you can retreat. Repeat this once the Blink Dagger cooldown is over. <…>
There can be issues with other heroes: for example, the Witch Doctor has too short a spell range, and after the Dragon Knight’s leap, he might not have time to follow up with an attack. With Mirana, there’s no such problem—she simply fires an arrow.
Outworld Destroyer and Io or Pudge
Outworld Destroyer lacks health regeneration and a bit of attack speed. Io provides him with attack speed and survivability thanks to Mekansm and Holy Locket. But what I like most is the combination of Relocate and Astral Imprisonment. At max level, Astral lasts four seconds, and Relocate’s cast time is about 3.5 seconds—depending on the level. You send the enemy into Astral and then use Relocate. If everything is set up correctly, the teleport will end before Astral does. <…> Io can bring in, for example, Dragon Knight: after exiting Astral, the enemy will be stunned, and OD will also be able to continue attacking.
Another combo is OD and Pudge. The key here is to land Meat Hook after Astral. This works really well. OD often has positioning issues, so Pudge is also useful because he can save him and help with positioning. Once Pudge has accumulated enough Flesh Heap charges and bought items, he’ll be able to stand up front and take the brunt of the damage, which is very helpful for OD.
Wraith King and Riki
These are the two heroes with the highest win rates on Dotabuff. That means this combo must be good. That’s my whole argument.
Lich and Juggernaut
Juggernaut needs a bit of crowd control to pull off Blade Fury. If the enemies know what they’re doing, buy items that boost their stats, and strike back while he’s spinning, they can deal him serious damage. But under Frost Shield, he’s practically invulnerable. <…>
At the same time, the enemy is constantly slowed, so you’ll be able to keep them near Juggernaut during Blade Fury. One of Lich’s main weaknesses is sustaining himself on the lane: if he uses his first ability correctly and frequently, he runs out of mana. Healing Ward compensates for this well.
Juggernaut lacks his own slows and stuns. Therefore, Lich, with his numerous slows and crowd control, naturally pairs well with him.
Spirit Breaker and Dawnbreaker
At level one, neither hero wants to do much of anything. Play passively, back off, finish off creeps, and draw their aggression toward you. But at level two, you can already go all-in with Blood Grenade and Charge of Darkness. This duo also synergizes well on the lane: the heroes become stronger at roughly the same time and are quite capable of killing a fragile enemy “five-man team.” <…>
When Dawnbreaker uses her ultimate, she often ends up in a dangerous position because she jumps forward. You can use the ability from Aghanim’s Shard on her to help her escape if things go south. But the key is the combination of Charge of Darkness, Spirit Breaker’s ultimate, and Dawnbreaker’s ultimate. You can both join the fight from anywhere on the map, making it incredibly difficult for the enemy to play against you. If anyone makes even a slight positioning mistake, they could die.
Witch Doctor and Phantom Lancer
If you’ve cast Maledict, you need to keep attacking: its damage depends on how much damage the enemy has already taken. That’s why you need a carry who can ensure that happens. <…>
If the enemy takes a Spirit Lance after Maledict, they can no longer trade blows and are temporarily forced to leave the lane. If they continue fighting and you throw a Blood Grenade, they could die. Phantom Lancer has a high-damage ranged ability, which he now prioritizes. And if necessary, he can close the distance using Phantom Rush and Doppelganger. <…>
If the lane is tough, you can take a healing ability at level two with Witch Doctor. The main goal is to help Phantom Lancer survive the lane. If that works, the hero will be able to do a lot on his own from there.
Dark Seer and Sven
Dark Seer needs a hero who can dive into the fight, reveal enemies, quickly take down a single target, and provide intelligence. Sven jumps in, stuns, and quickly kills a hero—doing exactly what Dark Seer doesn’t. Ideally, Dark Seer wants to enter the fight second so he can pull enemies in with Vacuum. Sven sets up the perfect conditions for this. And what does Sven need? A little help to keep enemies from keeping him at a distance. Vacuum combined with Sven’s stun is one of the best combos in the game, if executed correctly. Vacuum and Wall of Replica pull enemies together for burst damage. Surge is also incredibly good with Sven. <…>
I also like Dark Seer with Aghanim’s Shard: Surge leaves a slowing trail behind the hero. These heroes complement each other very well. Their team fights are too strong.
Dark Willow and Brewmaster
Both heroes are very strong in the lane. <…> Brewmaster can slow the enemy and set up a Bramble Maze hit. This is important: Dark Willow’s main problem in the lane is that she can’t always land her roots reliably. <…>
If Brewmaster chooses not to use Primal Split, he might fall a bit short on damage. Dark Willow helps finish off targets with Bedlam when Brewmaster’s ultimate is on cooldown or he doesn’t want to waste it on a single hero. <…>
In team fights, Brewmaster often charges in first. Enemies waste their abilities on him, but a well-timed Terrorize can save him. Brewmaster is so hard to kill that enemies start clustering around him and wasting too many resources on him. At that point, you can cast a strong area-of-effect Terrorize, then use Primal Split—and the fight is practically over.
Earlier, Speeed listed his key strengths: hero pool and consistency. “I really appreciate being able to be a true master of three or four heroes in every patch. I think that helps me a lot,” the support player noted.
Photo: Valve.