Twisted Abyss in Genshin Impact 7.1: Guide to Floors 9–12 and the Best Teams


On October 16, the Twisted Abyss was updated in Genshin Impact. In this cycle, teams utilizing Stellar Scatter, Stellar Superconduct, and Freeze will come in handy. On the later floors, it’s important not only to deal damage but also to quickly restore HP, break enemy defenses, and regularly attack Cryo targets. In this guide, we’ll cover the walkthrough and the best teams for both halves.
Blessing of the Void’s Vita 7.1
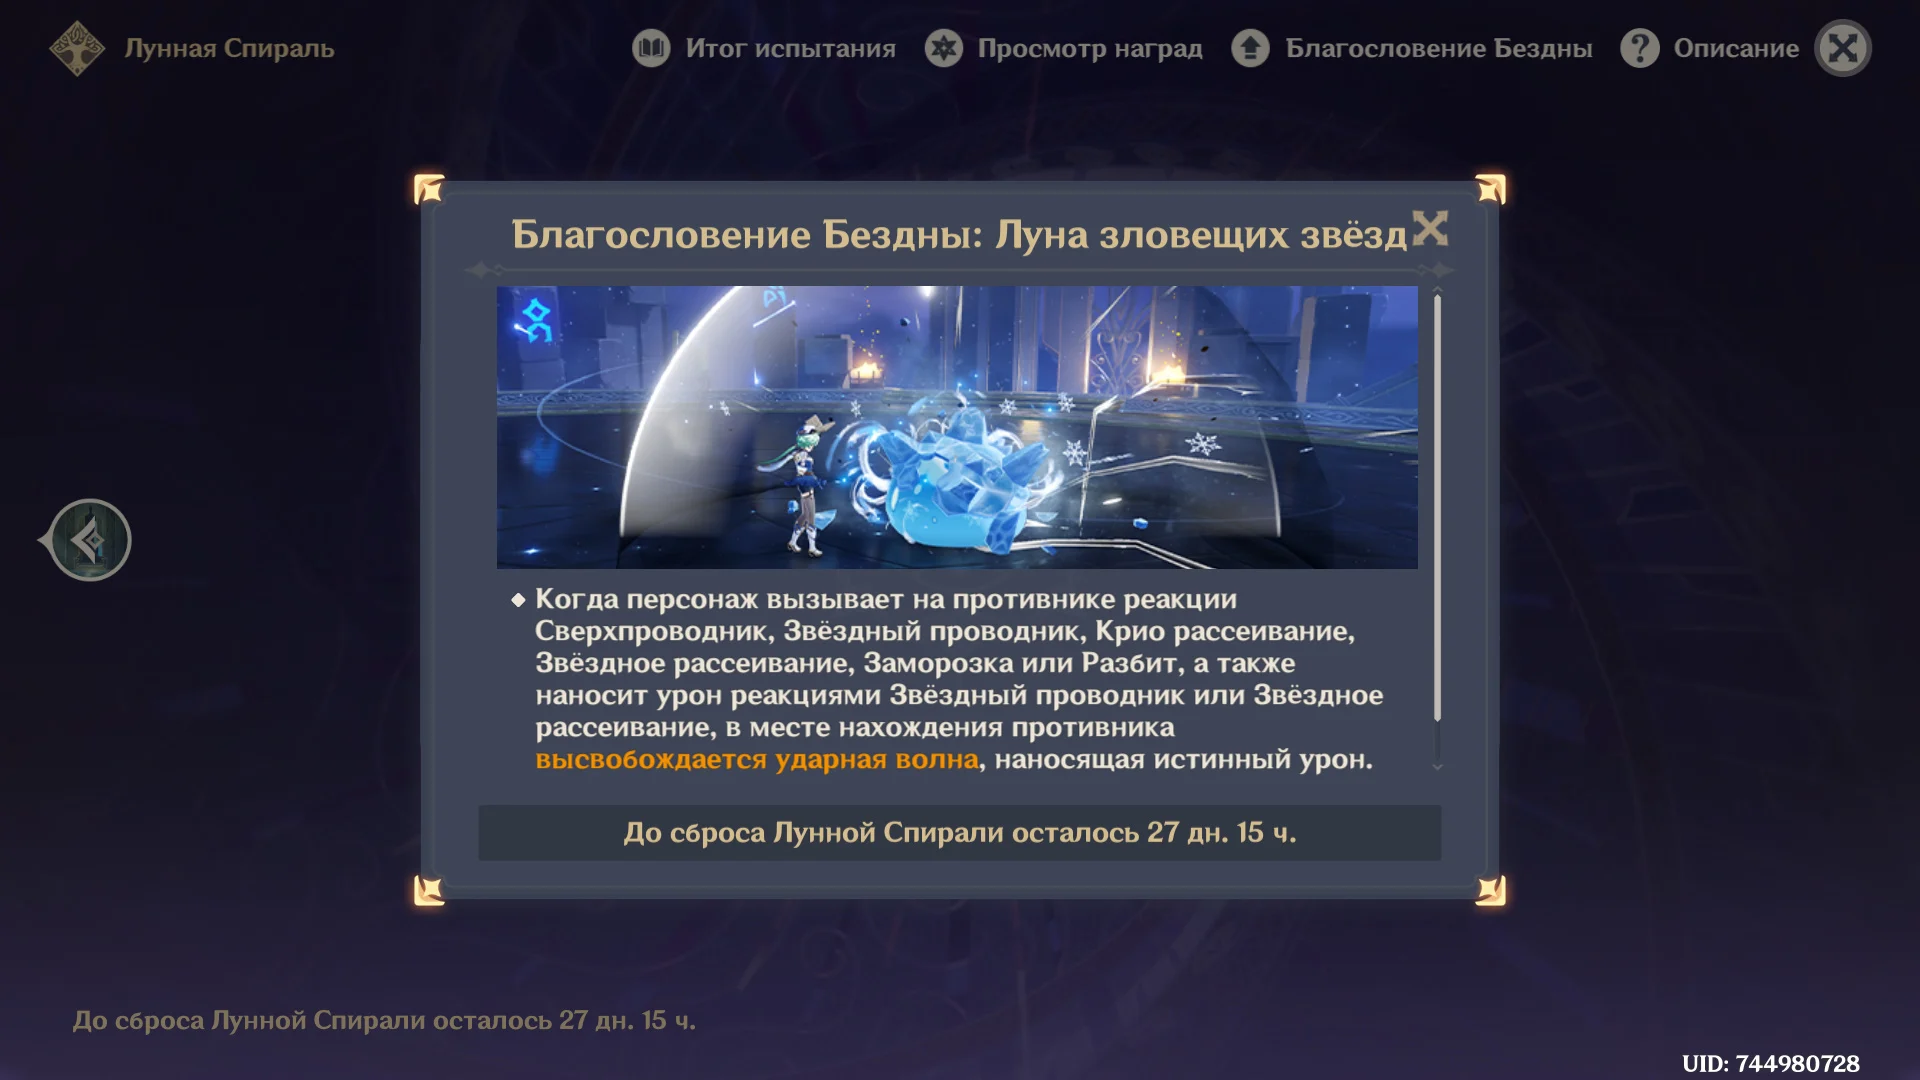
The Blessing creates a shockwave that deals true damage when Superconductor, Stellar Superconductor, Cryo Scatter, Stellar Scatter, Freeze, or Shatter are triggered. Dealing damage with Star Superconductor and Star Dispersion also triggers the effect. The shockwave appears no more than once every two seconds.
Bonuses for the final floors:
- Floor 11: +60% Anemo damage/+60% Cryo damage;
- Floor 12: +75% Starlight damage/+75% Cryo damage.
How to Beat Floor 9 of the Twisted Abyss
On the ninth floor, Stellar Scatter is enhanced. In the first half, you’ll encounter groups of winged knights, werewolves, and a wood spirit; in the second half, land cruisers.
Group-targeted abilities and area-of-effect damage will be useful against these groups. In the second half of the second hall, the cruisers appear one at a time—don’t waste all your elemental bursts on an enemy that’s almost defeated.
Teams for Floor 9
Take your best-leveled characters—Level 90, Level 90 weapons, Level 9 talents, and all Level 20 artifacts. This is more important than trying to get the Stellar Dispersion bonus.
Star Scatter Teams:
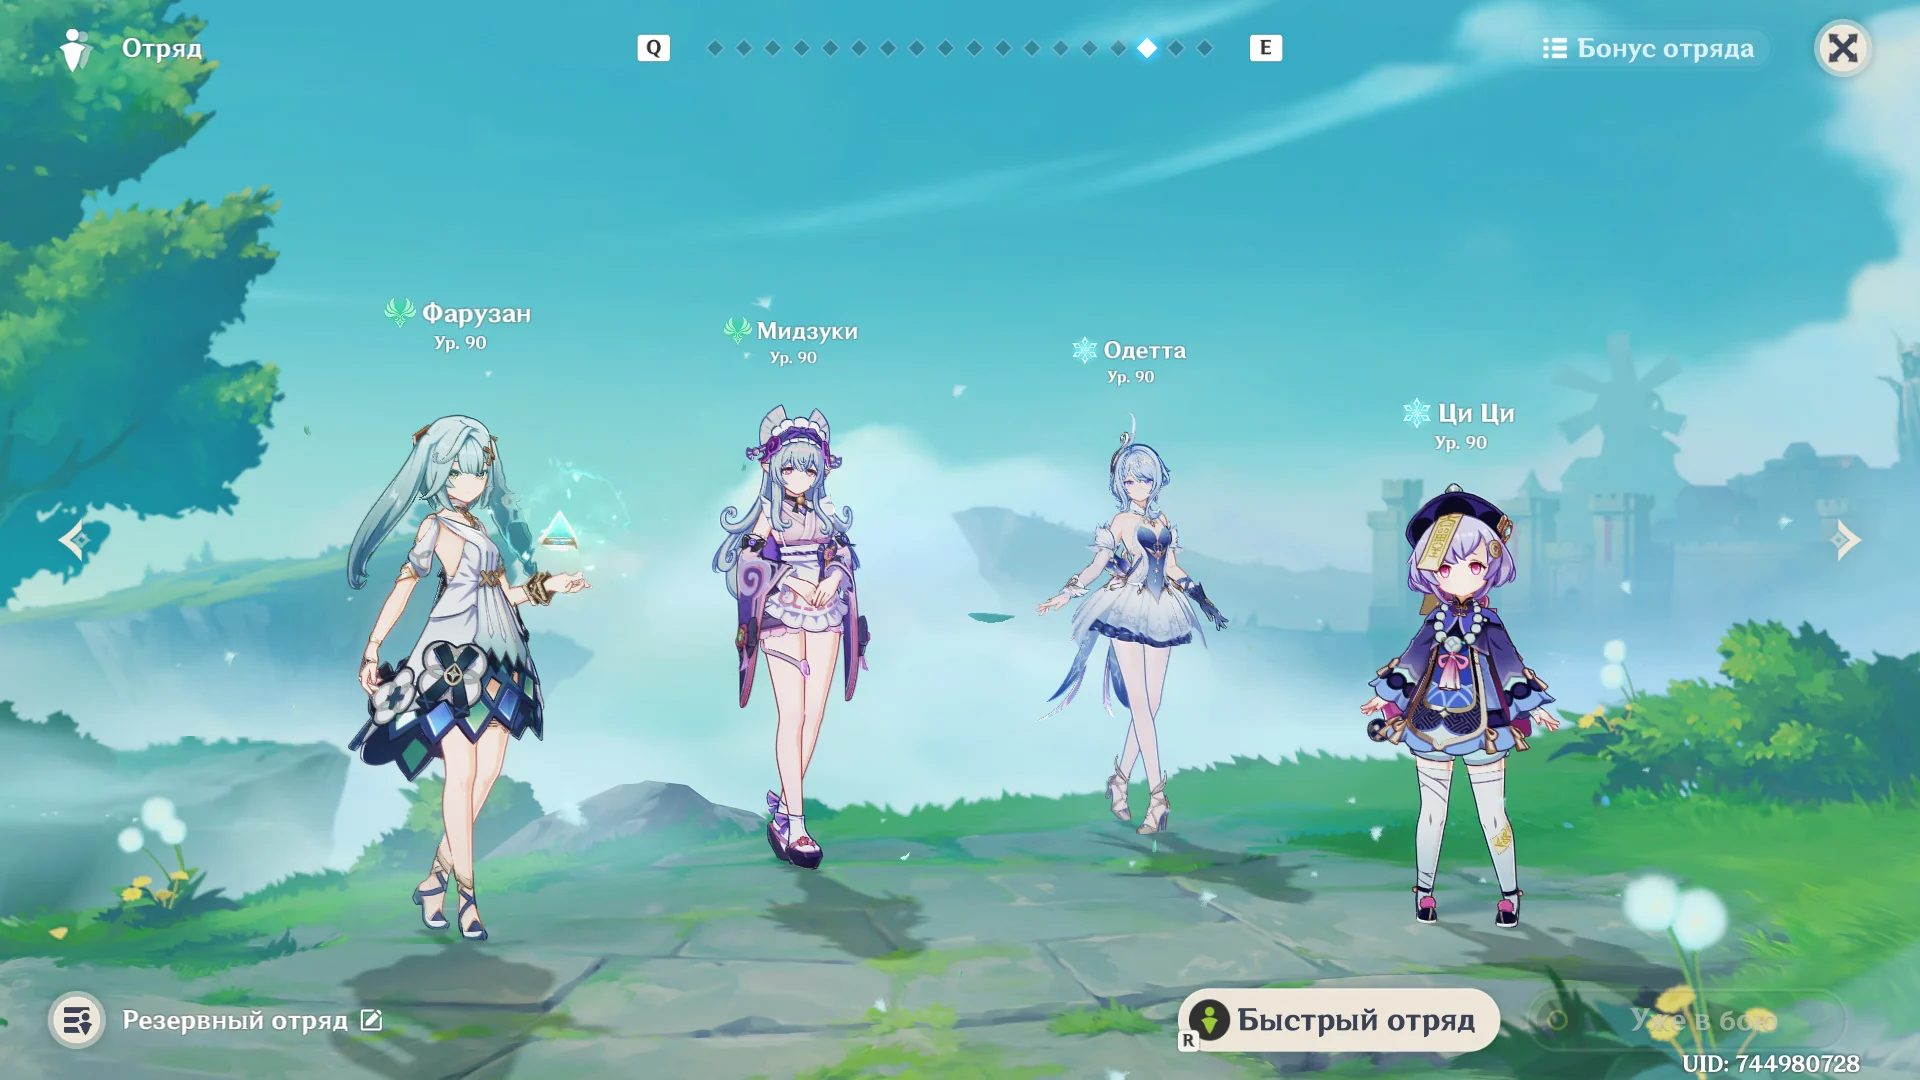
- Vesna, Faruzan, Odette/Cryo GG, Qi Qi/Diona;
- Mizuki, Faruzan, Odette/Cryo GG, Qi/Qi/Diona.
How to Clear Floor 10 of the Twisted Abyss
The 10th floor features a Star Superconductor buff. In the first half, you’ll face werewolves, lionmastiffs, and ice enemies; in the second half, you’ll face Oprichniki.
In Room 10-3 of the first half, Pyro will be useful for breaking through the ice defenses. Therefore, you can choose a Pyro team here instead of a squad that takes advantage of the floor’s bonus.
Teams for Floor 10
On the 10th floor, it’s also important to bring your best-leveled characters, not just those who qualify for the floor’s buff. If you’re having trouble with enemies that have a lot of HP, make sure your damage dealer is level 90, has a level 90 weapon, a level 9 primary damage talent, and good artifacts.
Star Guide Teams:
- Sandrone, Yae Miko, Odette/Cryo GG, Qi Qi;
- Rezli, Nicole, Yae Miko, Odette/Cryo GG;
- Saino, Odette/Cryo GG, Yae Miko, Qi Qi.
How to Beat Floor 11 of the Vito Abyss
It’s best to place an Anemo damage dealer in the first half and a Cryo damage dealer in the second. Be sure to include a healer: in the second half, you’ll face Rift Hounds, and a shield won’t stop Corrosion.
In the first room, you need to protect the monolith. In the first half, use a pull skill to intercept enemies attacking the monolith. Don’t chase a lone enemy if the others are still attacking the monolith.
In the second half, Cryo allows you to freeze Hydro Slimes. A Hydro DPS isn’t suitable here due to their immunity, but you can keep the Hydro support for the next rooms.
In 11-2, don’t stand in the way of the Swordfish’s attacks and keep an eye on the team’s health. Against the Hounds, use healing spells proactively before Corrosion leaves characters with critically low health.
In the second half of 11-3, start by destroying the Seahorse’s Pearl with Cryo attacks. Once its defense is gone, the boss will become more vulnerable—at this point, save your main buffs and damage for it.
First-half teams:
- Vesna, Faruzan, Odette/Cryo GG, Qi Qi/Diona;
- Mizuki, Faruzan, Odette/Cryo GG, Qi/Qi/Diona;
- Varka, Faruzan, Durin, Nicole;
- Wanderer, Faruzan, Zhong Li, Bennett;
- Xiao, Faruzan, Xian Yun, Furina.
Teams from the second half:
- Skirk, Furina, Shen He/Ye Lan/Xing Qiu, Escoffier/Charlotte;
- Sandrone, Odette/Cryo GG, Yae Miko, Qi Qi/Diona;
- Rezley, Nicole, Yae Miko, Odette/Cryo GG.
How to Beat Floor 12 of the Vita Abyss
In the first half, prioritize Star Reactions and strong healing. In the second half, focus on frequent Cryo attacks and Hydro to support the Baptizer’s shields and Hiletta’s mechanics.
Room 12-1
In the first half, you’ll face a buffed werewolf archer with Furiosa’s mechanics. Watch for roots to appear and destroy them immediately. After that, the enemy will be temporarily weakened—use elemental bursts during this window. Ranged attacks will help you reach roots located high up.
In the second half, you’ll need to defeat the Monstrous Baptizer and the Black Armor. The Baptizer uses Electro, Pyro, and Hydro defenses. It’s easier to remove the Pyro shield with Hydro attacks, while Cryo attacks are effective against Electro and Hydro shields.
Against the Black Armor, healing is the preferred strategy: hits on a character protected by a shield can empower these enemies. Don’t let them gain bonuses for free while you’re rotating your team.
Hall 12-2
In the first half, the Radiant Ghost Moth casts a cocoon that drastically reduces critical hit chance, damage, and the effectiveness of healing received. To remove this debuff, restore the character’s HP to maximum.
Heal your main DPS first, then start their rotation. A tank does not replace a healer in this mechanic. Pyro and Dendro DPS are less effective due to the boss’s increased resistance to these elements.
In the second half of the fight, Hilietta attempts to don her battle armor. While she’s preparing, cast Freeze several times while continuing to apply Hydro and Cryo. This allows you to disrupt the buff and use the armor against the boss herself. An alternative is to destroy the summoned parts with Overload.
Hall 12-3
In the first half, the winged lion chimera begins the battle with an Electro Barrier. Stellar Superconductor and Stellar Dispersion help you break through the defense faster and interrupt the boss’s special actions.
After destroying the barrier, use your main abilities. If the chimera takes flight and summons Anemo Spheres, destroy them with elemental attacks. Stellar Reactions also help stun the boss and create a new window of opportunity to deal damage.
In the second half of “Automaton of the Mysterious Source: The Overseer,” the boss builds up “Flow Impulse” and maintains high damage resistance. Reduce its health bar with frequent Cryo hits—it’s the frequency that matters here, not the power of a single hit.
Coordinate attacks from Skirk, Ayaki, or Rizley with the support characters’ Cryo skills. Once the Automaton stops moving and loses its increased resistance, launch your main attack sequence.
Best Teams for Floor 12
First Half:
- Sandrone/Rizley, Odette/Cryo GG, Yae Miko, Qi Qi;
- Vesna/Mizuki, Odette, Faruzan, Qi Qi;
Second Half:
- Skirk, Furina, Shen He/Ye Lan/Xin Qiu, Escoffier/Charlotte;
- Ayaka, Kokomi, Shen He, Kazuha/Rosaria.
Frequently Asked Questions (FAQ)
Текущий цикл начался 16 октября 2026 года и продлится до обновления Бездны 16 ноября.
Нет, но они получают бонус первой половины 12-го этажа и упрощают механики противников. Обычные команды требуют больше собственного урона.
Его кокон снижает шанс критического попадания. Полностью восстановите здоровье персонажа, чтобы снять эффект.
Обе половины нужно закончить примерно за три минуты суммарно — на таймере должно оставаться не меньше семи минут.
Да. Уже полученные звёзды сохраняются. Можно начать этаж заново другим составом и сосредоточиться на зале, где не хватило времени.