The Best Yae Miko 2026 Build in Genshin Impact — Starlight, Weapons, and Teams

After unlocking “The Witch’s Prophecy,” Yae Miko gains additional Star Conductor attacks and becomes a powerful pocket damage dealer for new teams. Her Sakura flowers stay on the field longer, and her first constellation boosts the entire party. Let’s break down which artifacts and weapons she needs and who she pairs best with.
How to Unlock “Stellar Radiance” for Yae Miko
Level up Yae Miko to level 70 and complete “The Great Yokai’s Instructions” from the Witch’s Prophecy Chest. The box is awarded for the “Random Revelations” mission, which becomes available after the Archons’ quest “Song of Dragon Freedom.” It can be found in the “Tools” section of your inventory.
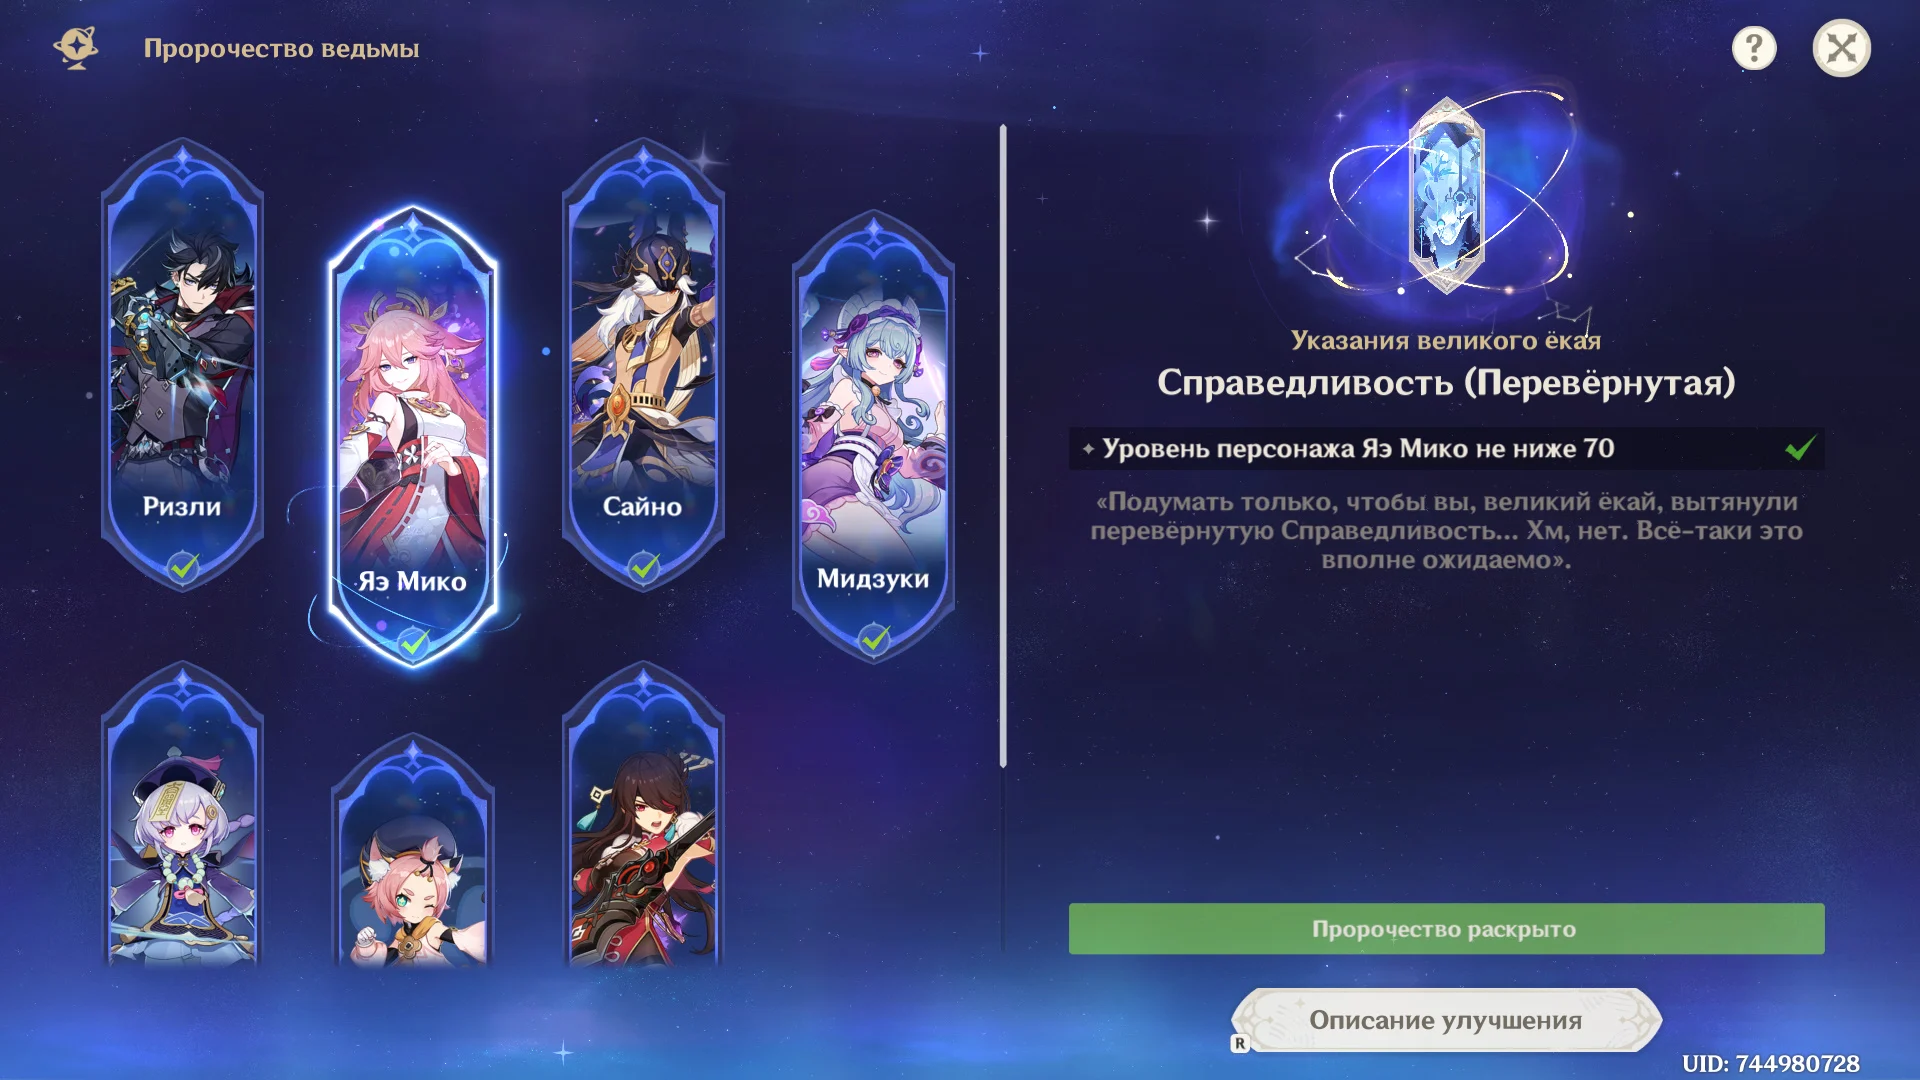
After completing the quest, Sakura’s effects last 24 seconds instead of 14. When allies activate Superconductor or Star Superconductor, Sakura’s next attack is enhanced. While in the Star Superconductor state, it additionally deals damage from a new reaction, depending on Yae Miko’s attack power.
Yaeko Miko herself does not transform a regular Superconductor into a Stellar Superconductor. This requires a suitable ally—for example, Sandrone, Cryo GG, or Odette. At S1, Yae Miko also grants the party a 50% bonus to Electro damage and Star Superconductor damage after fulfilling the constellation conditions.
The Best Build for Yae Miko—Weapons and Artifacts
In Star Superconductor teams, Yae Miko needs Attack Power, Critical Hit Rate, and a bit of Elemental Mastery. It’s not worth fully building her for MS: the multipliers for additional attacks depend on Attack Power.
Best Artifacts:
- 4x Disappointment Frozen in the Shadows—the main set for personal damage via Star Superconductor.
- 4x Gilded Dreams—a temporary alternative while you’re farming the main set.
- 2+2 for Attack Power, Attack Power, and MS, or two MS bonuses—if full sets currently fall short in stats.
- 4x Heart of the Horn—a situational option for boosting your squad if there’s no longer a suitable wearer.
Stats:
- Watch: Attack Power / Elemental Mastery.
- Goblet: Attack Power / Elemental Mastery.
- Crown: Critical Chance / Critical Damage.
- Additional Stats: Critical Hits, Attack Power, Elemental Mastery.
Do not equip both the Watch and the Cup for MS without considering your specific build. A general guideline is around 100–300 MS, followed by Attack Power and Critical Hits. Take team buffs into account. A Cup with Electro Damage is less beneficial here, as this bonus does not enhance the direct damage of the Star Superconductor.
Best Weapons:
- Kagura’s Truth—Signa, the main option. Provides critical damage, enhances the elemental skill, and boosts Star Superconductor.
- Box of Truths, Shimmering Hopes—strong 5-star alternatives.
- Echoes of the Heart—a crafted option, especially at the fifth awakening. It’s important for Yae Miko to trigger the reaction herself regularly: a single instance of Star Superconductor damage isn’t enough to activate the passive.
- Celestial Atlas and Treasury’s Watch are options from your existing arsenal that boost attack power and critical hits.
- A Thousand Nights’ Dreams—these are suitable if your party benefits from additional elemental mastery.
It’s usually not necessary to specifically build Energy Regeneration into this setup. The main damage comes from Sakura, and using the ultimate can slow down the rotation and take time away from the main damage dealer.
Best Teams for Yae Miko
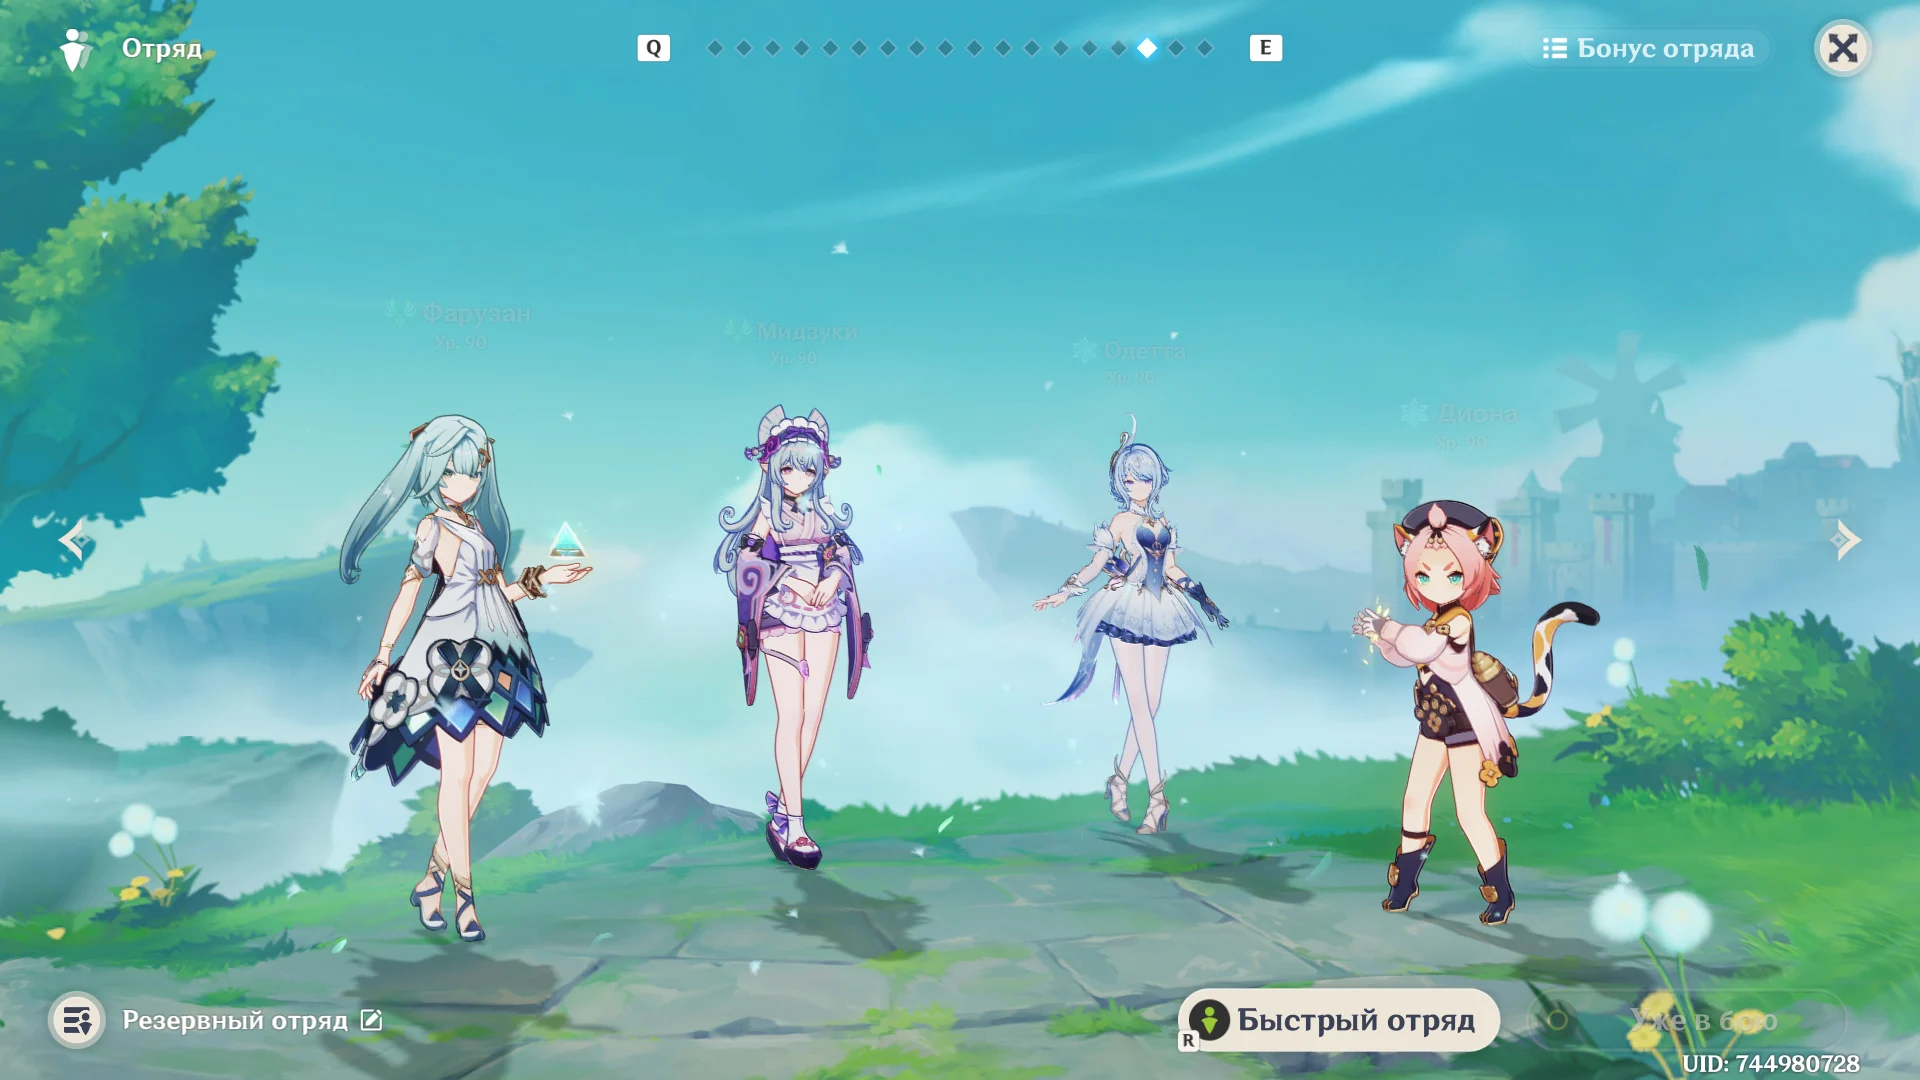
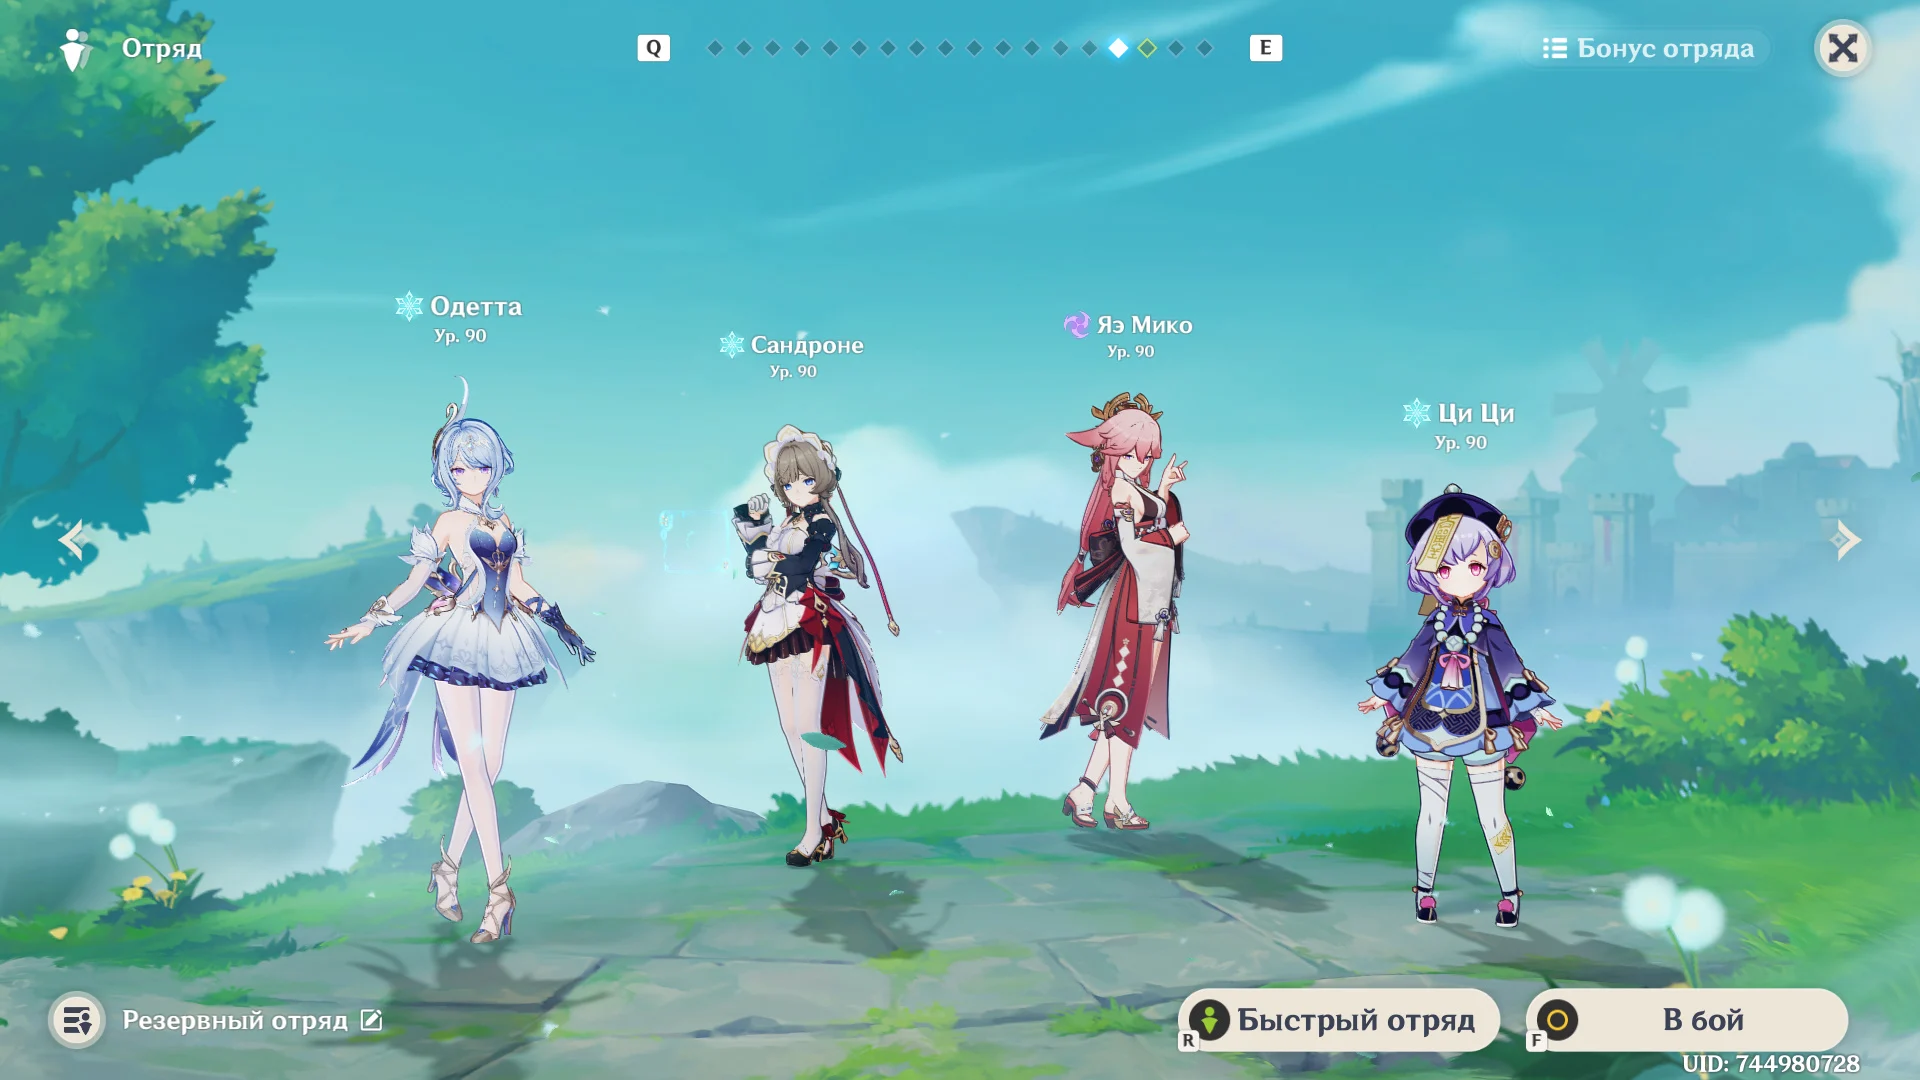
- Sandrone, Yae Miko, Odette, and Qi Qi—a team with burst damage, buffs, and healing.
- Sandrone, Yae Miko, Odette, and Diona—a defensive option; Diona at S6 is especially useful.
- Rezli, Yae Miko, Odette, Bei Dou—preferably with Bei Dou at S6. She protects Rezli without healing, which can interfere with his enhanced attacks.
- Saino, Yae Miko, Odette, Bei Dou—a lineup designed to keep Saino on the field for an extended period.
- Cryo Traveler, Yae Miko, Qi Qi, Sucrose—a setup without Sandrone and Odette.
At the start of the rotation, set up three Sakura Sesshō, use the supports’ abilities, and switch to the main damage dealer. Return to Yae Miko when you need to refresh the Sakuras or reposition them closer to the enemies. Use your ultimate if it doesn’t delay the main hero’s next deployment.
Frequently Asked Questions (FAQ)
С0 уже подходит для Звёздного сверхпроводника, но С1 заметно усиливает отряд: даёт 50% бонус Электро урона и урона новой реакции на 10 секунд. Повторное выполнение условий обновляет длительность.
Нужны обе характеристики, но полностью уходить в МС не стоит. Обычно используют часы и кубок на силу атаки либо заменяют один из них на МС с учётом оружия и командных баффов.
Комплект усиливает обычный урон навыка, но его бонус не распространяется на прямой урон Звёздного сверхпроводника. Для новой сборки лучше фармить Застывшее в тени разочарование.
Нет. В таких командах обычно важнее поддерживать три Сакуры и вовремя передавать поле основному дамагеру. Ульту можно пропускать.
Сначала элементальный навык, затем взрыв стихии, если используете его в бою. Обычные атаки для карманной Яэ Мико прокачивать необязательно.