Belerika Guide in MLBB: Best Build, Emblems, and Counterpicks

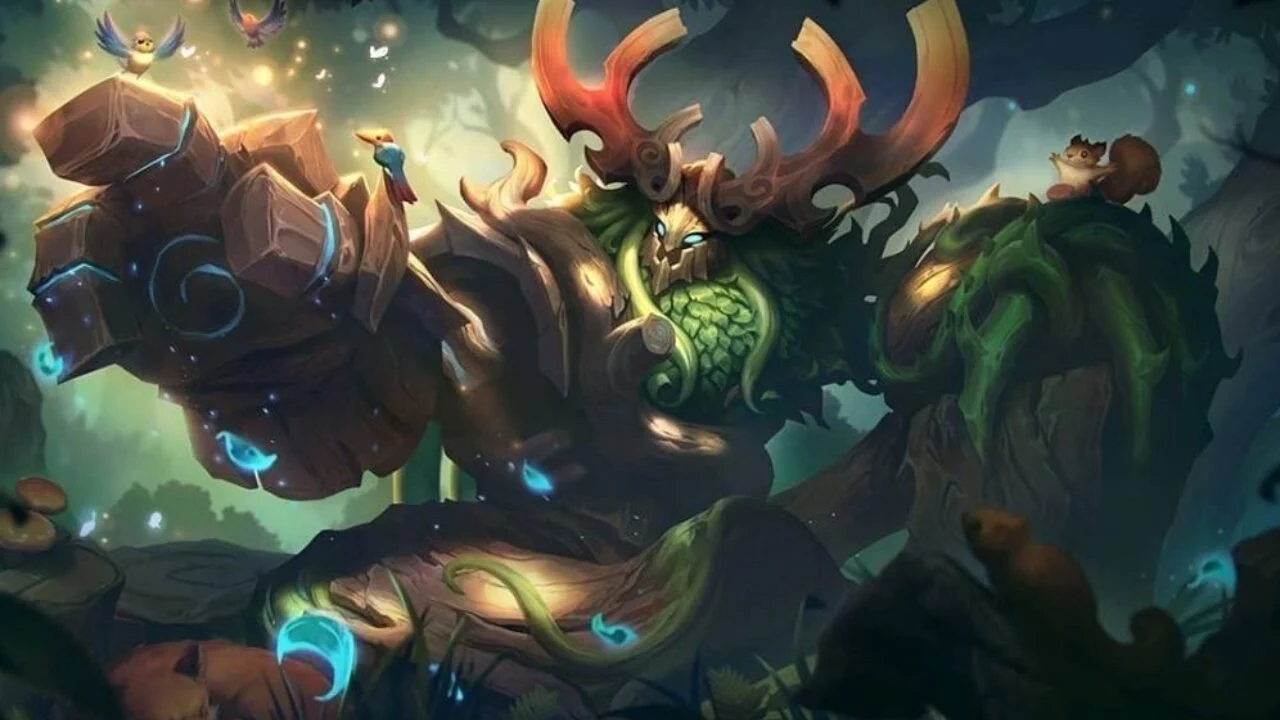
Belerick is a tank in Mobile Legends: Bang Bang who specializes in area-of-effect crowd control and dealing retaliatory damage. Thanks to his passive ability, he can punish opponents for frequent attacks, and his skills allow him to provoke enemies and protect allies. In this guide, we’ll break down Belerick’s abilities, the best items and emblems, and explain how to play him effectively and who to watch out for.
Belerick in MLBB: Role, Position
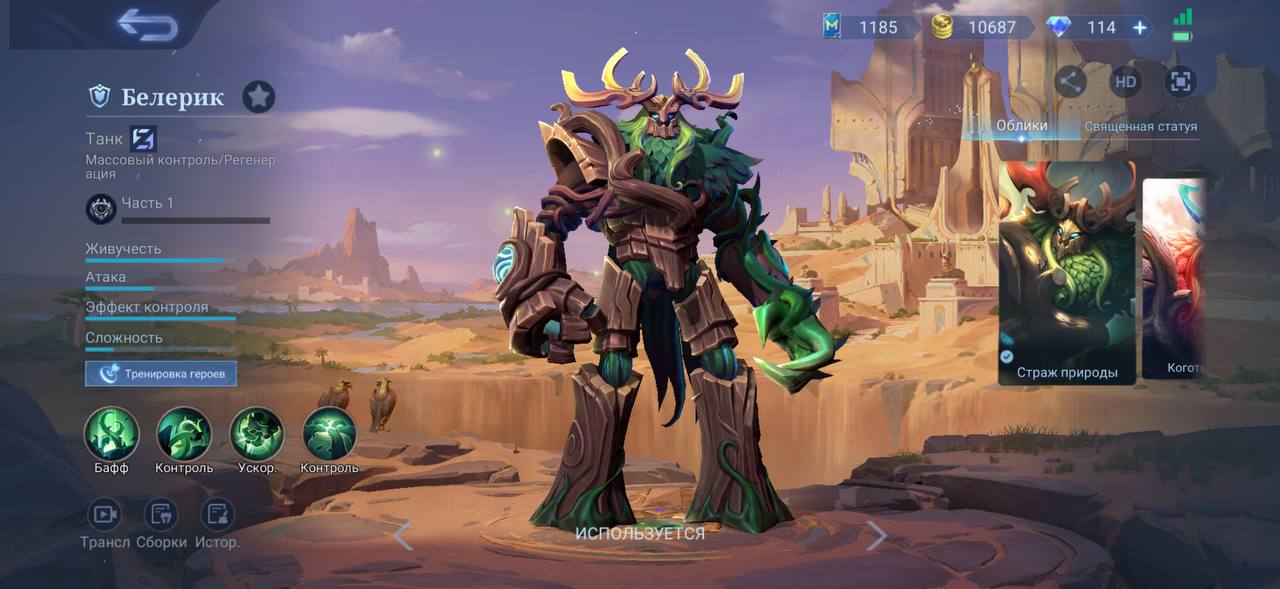
Belerick is a tank-class hero who plays the roamer position. His main task is to absorb damage, protect allies, and control opponents during team fights. He can also be played on the EXP lane, where he can withstand prolonged attacks and prevent the opponent from freely clearing minions. You can purchase him in the in-game store for 32,000 Battle Points or 599 Diamonds.
Belerik’s main strength is his high survivability combined with passive magic damage. The more often enemies attack him, the more spikes he unleashes in response. This is particularly effective against marksmen with high attack speed. Additionally, Belerik can regenerate health, slow enemies, and provoke multiple heroes at once.
However, Beleric has virtually no mobility. He cannot dash using his own abilities, so it’s difficult for him to catch up to fast opponents. He is also vulnerable to high burst damage and to heroes who can attack from a safe distance without entering his control area.
Belerik’s Abilities and Skill Order
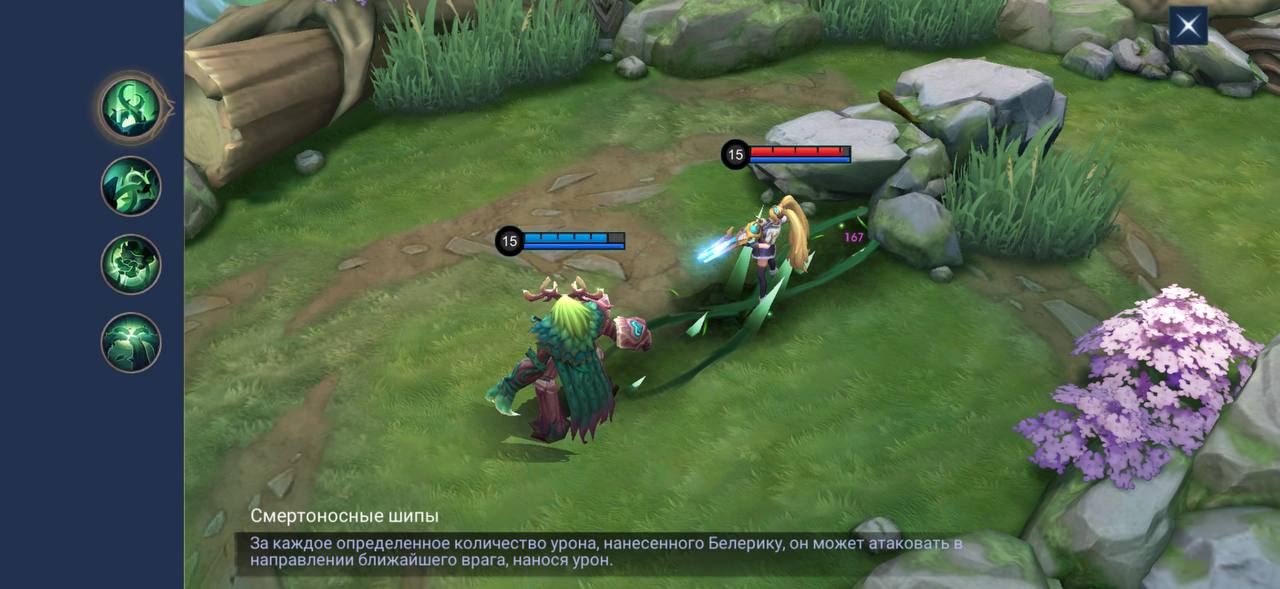
Belerik has four abilities. They allow him to deal retaliatory magical damage, restore health, slow enemies, and force them to attack the tank himself. Thanks to this, the hero shines particularly well in prolonged team fights.
Deadly Thorns — Passive Ability
When Belerik takes damage, he has a chance to launch a spike at the nearest enemy, dealing magic damage based on his maximum health. Additionally, the health bonus from items and emblems is increased by 30%. This passive is particularly effective against marksmen with high attack speed, as frequent hits allow Belerik to respond with spikes on a regular basis.
Ancient Seed — First Ability
Belerik shoots vines in the selected direction, dealing magic damage and slowing affected enemies. After one second, the seeds left behind explode, dealing damage again and taunting enemies for 1.2 seconds, forcing them to attack Belerik. This ability is useful for initiating fights, protecting allies, and blocking escape routes. Be aware of the delay before the taunt: mobile heroes may have time to leave the danger zone.
Strike of Nature — Second Ability
Belerik briefly increases his movement speed and enhances his next basic attack. Upon hitting, it deals additional magic damage and slows the enemy by 60%. The ability also restores the hero’s health. “Strike of Nature” helps you quickly close in on an enemy, keep them in range, and survive prolonged battles.
Dryad’s Wrath — Ultimate
Belerick summons sprawling vines around himself that deal magic damage and taunt nearby enemies for 1.5 seconds. While the control effect is active, enemies are forced to attack Belerick, which allows you to draw them away from your allies and activate his passive ability. “Dryad’s Wrath” is especially useful in team fights when you manage to lock down multiple heroes at once, including an enemy marksman or assassin.
Skill Build and Combo Guide
At level 1, take “Ancient Seed” to gain control and the ability to safely attack the enemy. At level two, unlock “Nature’s Strike” for additional mobility and health regeneration. Then prioritize upgrading your first ability, level up your second ability next, and enhance your ultimate at available levels.
Beleric’s Main Combo Sequences:
- To start a team fight, use “Nature’s Strike” to close in on enemies, then activate “Dryad’s Wrath.” While enemies are under the taunt effect, cast “Ancient Seed” to extend the control.
- To protect an ally, cast “Ancient Seed” toward an approaching enemy. After the taunt triggers, use “Strike of Nature” to slow the enemy and restore your health.
- For a surprise attack, use “Flash” to position yourself near multiple enemies, then immediately activate “Dryad’s Wrath.” Next, use your first and second abilities for additional crowd control.
Try to use your ultimate when allies are nearby who are ready to deal damage. Belerik himself is rarely able to quickly eliminate an enemy, so it’s important for him to create opportunities for his team at the right moment.
The Best Build for Belerik in Mobile Legends
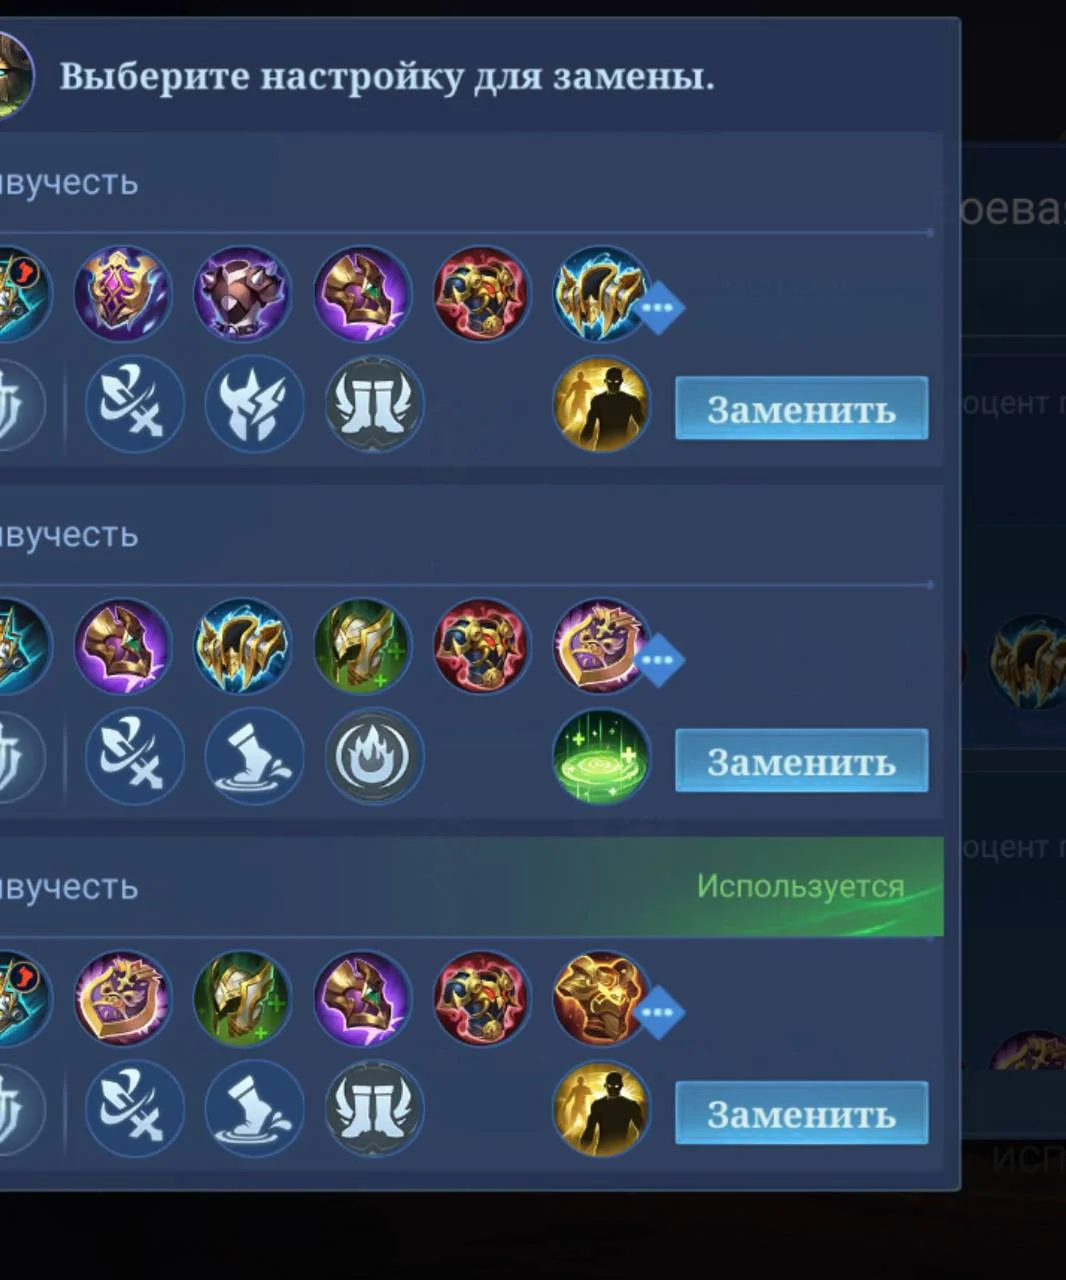
Belerik needs a large health pool, physical and magical defense, as well as items that help him withstand prolonged attacks. Thanks to his passive ability, the additional health not only increases his survivability but also boosts the damage from his thorns.
For standard play as a roamer, the following six items are recommended:
- Swift Boots with the “Encouragement” blessing. They increase movement speed and allow you to move between lanes more quickly. The blessing further boosts the attack stats of nearby allies, which is useful for Belerik, who constantly accompanies the team and absorbs damage.
- Dominance of Ice. Increases physical and magical defense, as well as movement speed. Additionally boosts the hero’s defense when surrounded by multiple enemies and reduces their health regeneration and shields.
- Shoulder Guards of Punishment. Increases health and physical defense. When taking damage, it reduces the enemy’s attack speed, and when health drops to a critical level, it restores a portion of health.
- Ancient Cuirass. Increases maximum health and physical defense, and reduces physical damage from enemies attacking with skills. Especially useful against fighters and assassins who aim to quickly take down a tank with a single skill combo.
- Valkyrie’s Shield. Increases health and magic defense, and reduces incoming burst magic damage. Helps Belerik survive powerful combos from enemy mages, such as Eidora or Aurora, and continue fighting.
- Immortality. Increases maximum health and physical defense, and upon death, allows the hero to resurrect with a portion of their health and an additional shield. This is especially useful in the late game, when the death of a tank can leave the team defenseless before a decisive clash.
If the main threat is a marksman with a high attack speed, it’s worth purchasing the “Shoulder Guards of Punishment” sooner. Against heavy magical damage, it’s more effective to prioritize buying the “Valkyrie’s Shield.”
“Spiked Armor” can be purchased to counter marksmen who deal most of their damage with basic attacks. It significantly increases physical defense, reduces critical damage taken, and reflects a portion of the damage back to the attacker. This item pairs well with Beleric’s passive, as the enemy takes additional damage from prolonged attacks on the tank. It can be purchased instead of the “Ancient Cuirass” if the main threat comes from basic attacks.
“Radiant Armor” is useful against mages who deal sustained magical damage, such as Chang’e or Kimi. It gradually increases magical defense when taking damage, allowing you to withstand frequent hits for longer. You can choose this option instead of the “Valkyrie’s Shield” if your opponents rely on sustained pressure rather than quick cast times.
If necessary, you can also consider “Protective Helm,” which significantly increases your health pool and speeds up health regeneration outside of combat. This item allows you to return to base less often and engage in battles more frequently.
Best Emblems and Spells for Belerik
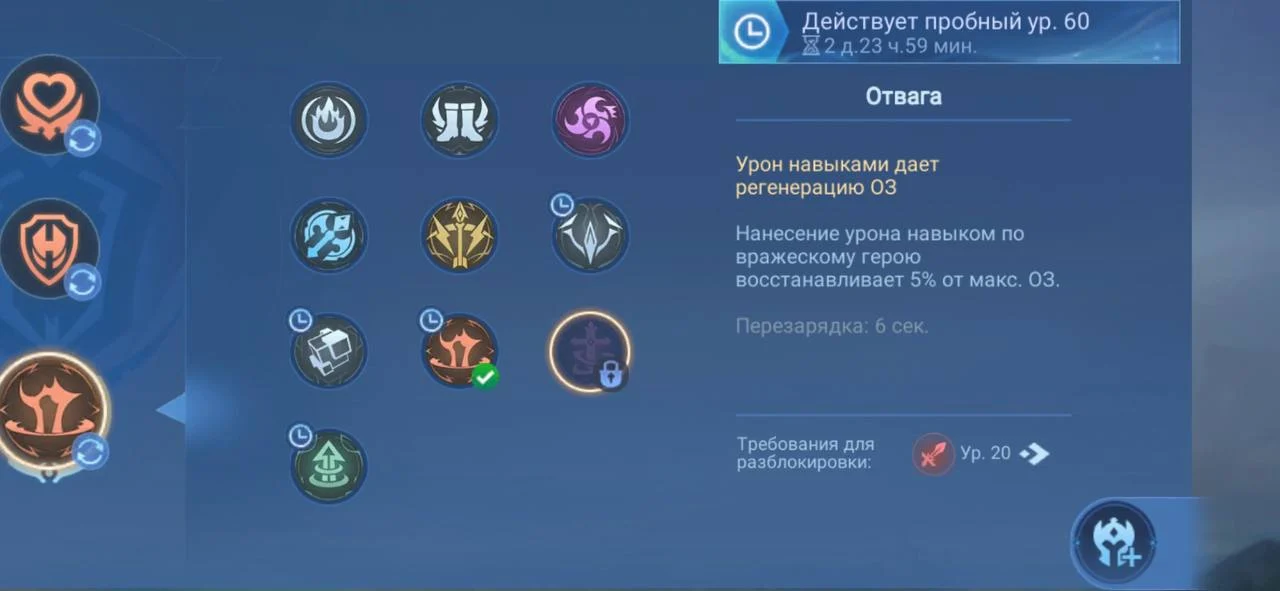
The Tank Emblem is best suited for Belerik, as it increases maximum health, physical and magical defense, and health regeneration. Thanks to these stats, the hero can withstand more damage and use his passive ability more effectively.
For standard gameplay, you can choose the following talents:
- Toughness — Increases maximum health. This is especially useful for Belerik, as it boosts his survivability and the damage dealt by “Deadly Thorns.”
- Resilience — reduces damage taken when the hero’s health drops below 50%. Helps him survive dangerous attacks and stay in the thick of battle longer.
- Valor — Restores a portion of maximum health when dealing damage to an enemy hero with a skill. It pairs well with Belerik’s area-of-effect abilities and allows you to feel more confident in prolonged battles.
Instead of “Bravery,” you can use “Shockwave,” which deals area-of-effect magic damage after a basic attack. Its effectiveness depends on maximum health, so this talent is well-suited for Belerik with a defensive build.
Which Combat Spell to Choose
Two combat spells are suitable for Belerik: “Flash” and “Heal.” The choice depends on the team composition and intended playstyle.
“Flash” allows you to instantly move a short distance, unexpectedly close in on enemies, or escape a dangerous situation. It’s also a good idea to combine it with his ultimate: Belerik can suddenly appear among enemies and activate “Dryad’s Wrath,” forcing several heroes to attack him.
“Heal” creates an area that gradually restores health to Belerik and nearby allies, while also boosting incoming shields and mana regeneration. It’s better suited for prolonged team fights when you need to hold the front line longer and help your teammates survive.
If the team lacks a hero to initiate fights, it’s better to choose “Flash.” If, on the other hand, your allies already have strong crowd control and Belerik’s main role is to absorb damage and protect the team, “Healing” will come in handy.
How to Play Beleric: Gameplay and Tactics
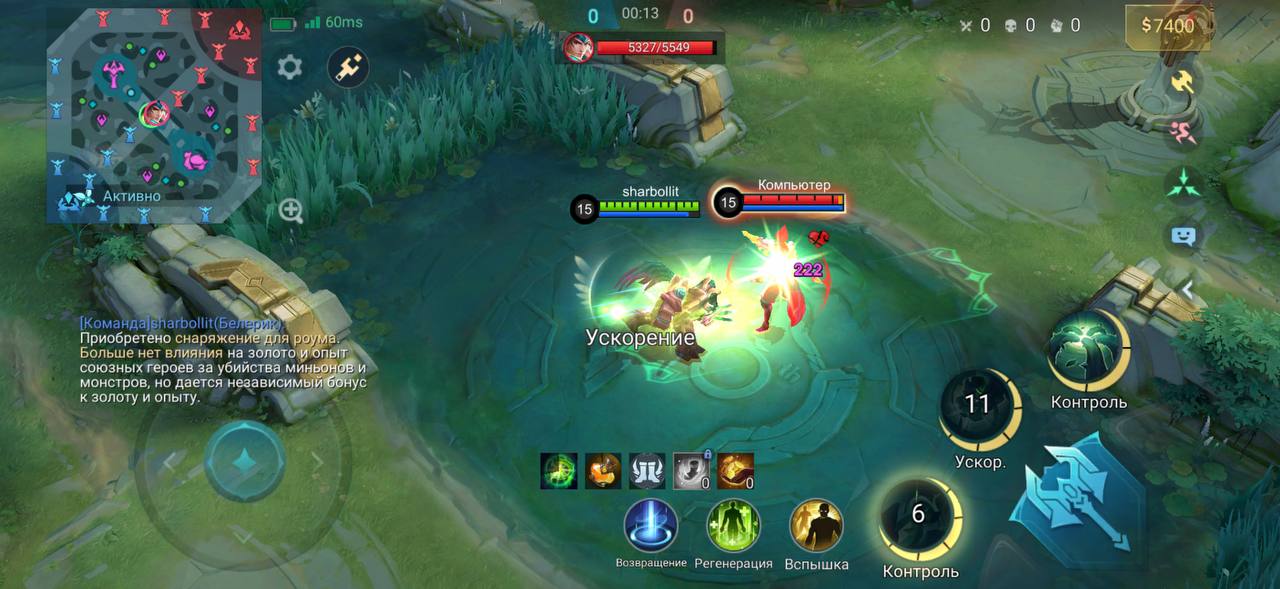
Beleric is most effective when he’s close to enemies and forces them to attack him instead of his allies. His main role is to control enemy movements, absorb damage, and use Taunt to protect the team or initiate fights.
Early in the game, accompany your allied jungler or assist the marksman on the top lane. Use “Ancient Seed” to slow enemies and prevent them from approaching your allies, and “Nature’s Strike” to restore health and move quickly. Once you’ve unlocked your ultimate, try to participate more often in battles for the Turtle and help your team capture key objectives. If you’re playing on the experience lane, focus on clearing minions and avoid prolonged fights against heroes who can consistently keep their distance.
By mid-game, Belerik becomes significantly tankier thanks to defensive items. Move around with your team more often, check bushes, and try to absorb attacks intended for your team’s marksmen and mages. Use “Dryad’s Wrath” when several enemies are nearby to force them to attack you and give your teammates time to deal damage. It’s effective to bait enemies in narrow passages, where it’s harder for them to escape your area of control.
Late in the game, Belerik can withstand prolonged attacks and deal significant damage in return thanks to “Deadly Thorns.” Try to stay close to your team, protect your most vulnerable allies, and control the approaches to the Lord. Don’t waste your ultimate on a lone tank if there are enemy marksmen or assassins nearby. At the same time, don’t mindlessly absorb all the damage: enemies with pure damage and anti-tank items can quickly take down even a well-built Belerik.
Who counters Beleric: counterpicks and best allies
Despite his high survivability, Belerik struggles against heroes who deal high burst or pure damage and are able to maintain distance consistently. Leslie and X.Borg are particularly dangerous: their attacks effectively pierce through tank defenses. Beatrice and Brody can deal high damage without engaging in prolonged basic attack exchanges. Mobile assassins like Lancelot and Ling also pose challenges, as they can quickly exit the taunt range and flank Beleric. Against such heroes, it’s important to position yourself correctly and avoid wasting crowd control unnecessarily.
Odette and Ixia are considered Beleric’s best allies. They can deal massive area-of-effect damage to enemies that Beleric holds in place with “Dryad’s Wrath.” Belerik also pairs well with marksmen who deal high sustained damage and can safely attack enemies from behind the tank.
Frequently Asked Questions (FAQ)
Белерик относится к классу танков и специализируется на массовом контроле и восстановлении здоровья. Его основная позиция — роум, где он защищает союзников и начинает командные сражения. Также героя можно использовать на линии опыта.
Для универсальной игры подойдёт защитная сборка с «Господством льда», «Наплечником наказания» и «Древней кирасой». Против магов с высоким взрывным уроном стоит приобрести «Щит Валькирии», а против стрелков с частыми базовыми атаками — «Шипованную броню».
Благодаря пассивной способности «Смертоносные шипы» Белерик может наносить магический урон в ответ на полученные атаки. Чем чаще стрелок попадает по нему, тем больше возможностей активировать шипы. Особенно эффективно это работает против Мии, Москова и других героев с высокой скоростью атаки.
«Вспышка» подходит для неожиданных нападений и быстрого сближения перед ультимейтом. «Исцеление» лучше использовать в затяжных сражениях, когда команде необходимо дополнительное восстановление здоровья. Выбор зависит от состава союзников и стиля игры.
Провокация заставляет поражённых противников временно атаковать Белерика базовыми ударами вместо свободного использования своих способностей. Этот эффект позволяет защищать союзников и создавать условия для ответной атаки. Однако противники с невосприимчивостью к контролю могут избежать его действия.