Top 15 Best Lane Pairs in Dota 2, Regardless of the Meta

There are over a hundred heroes in Dota 2, and there are dozens of viable lane pairings. Some duos win through aggressive gameplay, others through survivability, and still others through unconventional combinations. That’s why we’ve compiled a list of the best Dota 2 hero pairings for any situation.
Read also: Ranking of the Most Popular Heroes in Dota 2
Quick Facts About Hero Pairs
| Hero Combinations | Lane | Key Strength |
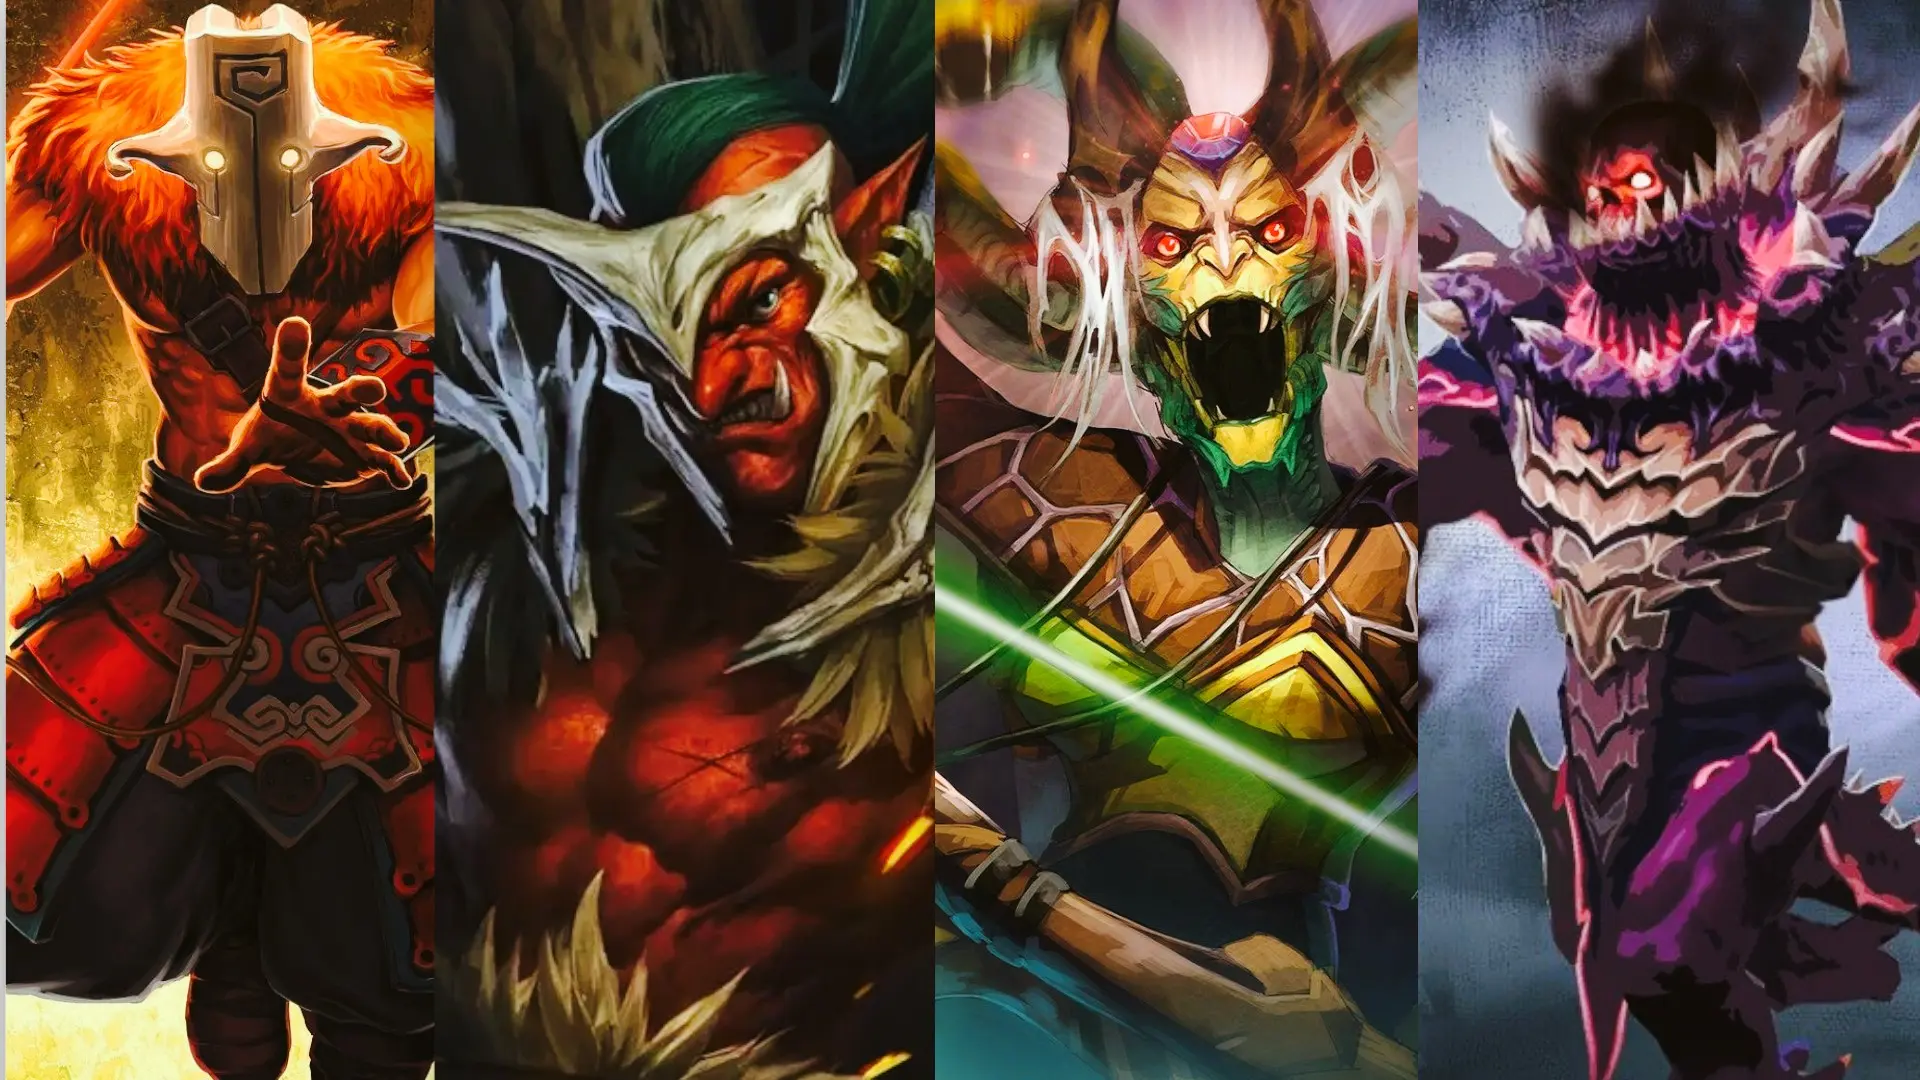
| Juggernaut + Shadow Shaman | Light | Control with Omnislash and Blade Fury |
| Troll Warlord + Oracle | Easy | High survivability |
| Medusa + Treant Protector | Easy | Excellent control thanks to Black King Bar; they’re tough to fight as a duo |
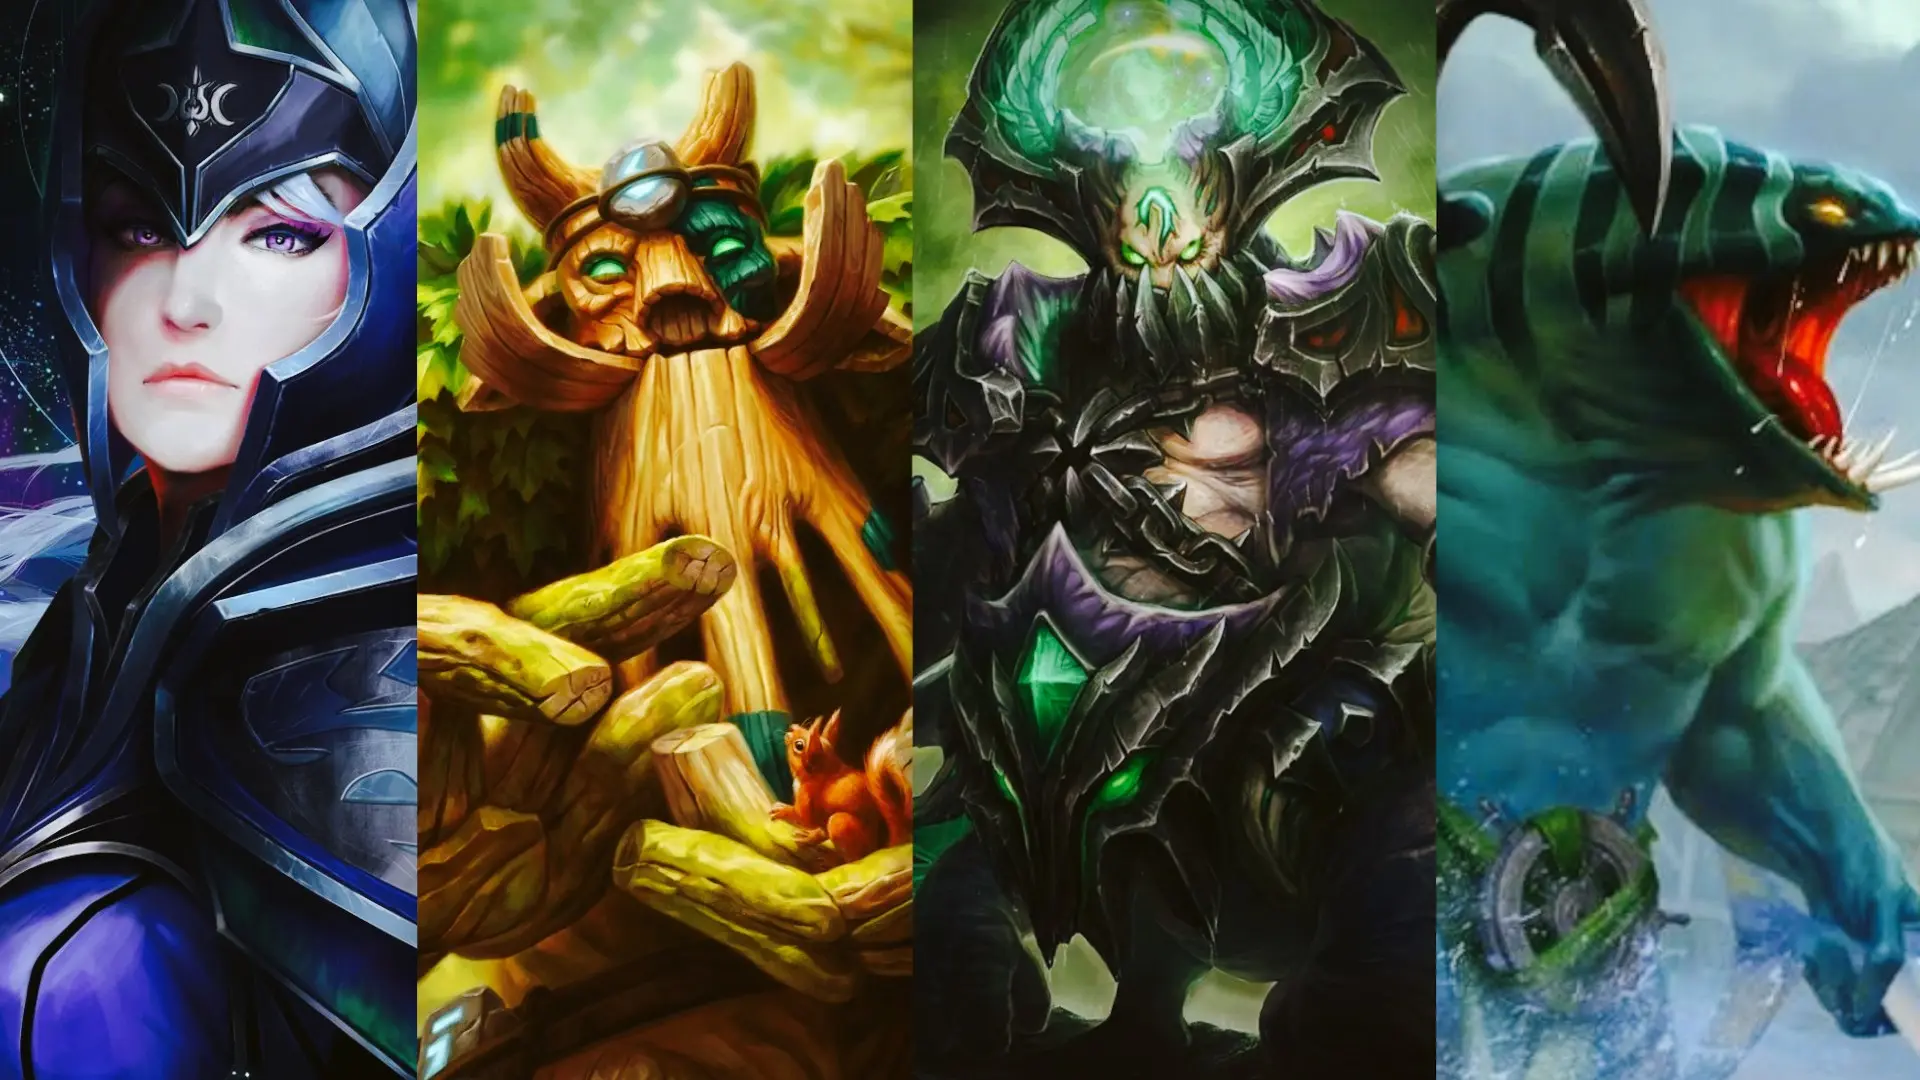
| Luna + Shadow Demon | Light | Guaranteed kill with Eclipse under Disruption |
| Chaos Knight + Grimstroke | Difficult | Strong control, double stun, high damage |
| Timbersaw + Dazzle | Hard | High survivability, aggressive gameplay |
| Bristleback + Witch Doctor | Difficult | High survivability, aggressive gameplay |
| Underlord + Warlock | Hard | Control, zoning, healing, and plenty of annoying effects |
| Tidehunter + Kunkka | Hard | Double area control—hard to escape from them |
| Slardar + Invoker | Roaming | Armor reduction, can kill anywhere on the map with Sunstrike |
| Naga Siren + Kunkka | Mid | Ghostship with Song of the Siren |
| Necrophos + Dazzle | Medium | High survivability, lots of healing |
| Pugna + Leshrac | Hard | Massive magic damage, fast-pushing |
| Bloodseeker + Zeus | Roaming | Easy to kill enemies anywhere on the map |
| Viper + Venomancer | Difficult | Dominate the lane, lots of negative effects |
Dota 2 hero combinations for the easy lane
Juggernaut and Shadow Shaman
Juggernaut and Shadow Shaman is a duo that starts dealing lethal damage as early as level three. Shadow Shaman traps the target with Shackles, and Juggernaut casts Blade Fury while the target is immobilized, dealing massive damage. After level 6, the combo becomes even more dangerous: Shadow Shaman uses Hex, and Juggernaut uses Omnislash. Shadow Shaman’s crowd control prevents enemies from escaping the ultimate, and Serpent Ward helps quickly take down towers after successful teamfights.
Why this duo is strong:
- Shackles + Blade Fury allow for guaranteed kills on the lane.
- Hex helps maximize the effectiveness of Omnislash.
- Mass Serpent Ward speeds up tower destruction while Juggernaut farms.
Troll Warlord and Oracle
Troll Warlord is one of the most aggressive carries in the game, but he has a weakness: he’s fragile in the early game, and his ultimate ability is far from reliable. His situation is exactly the same as Juggernaut’s, so he needs a reliable support. Oracle solves this problem with False Promise and other abilities, making Troll virtually unkillable and allowing him to fight until the very end, knowing he’ll catch up to his enemies without dying himself. This combo is particularly strong against teams with a lot of crowd control, because False Promise removes debuffs.
Why this combo is strong:
- False Promise makes Troll Warlord nearly unkillable in fights.
- Oracle removes debuffs via Fortune’s End.
- Purifying Flames helps finish off fleeing enemies.
Medusa and Treant Protector
Medusa is one of the weakest heroes in the lane because she can’t fight effectively until level 25. Treant Protector solves this problem with Living Armor: it provides armor and crowd control, allowing Medusa to survive tough exchanges. His Nature’s Grasp blocks escape routes, while Leech Seed slows enemies and heals allies. Treant can also place Eyes in the Forest for vision, which helps Medusa avoid ganks and farm safely. This duo turns a weak lane into a reliable one.
Why this combo is strong:
- Living Armor protects Medusa on the lane.
- Nature’s Grasp helps significantly slow enemies.
- Eyes in the Forest provides vision and protection against ganks.
Luna and Shadow Demon
Luna and Shadow Demon are a combo that really shines starting at level six. Shadow Demon uses Disruption to pull an enemy into the astral plane, and Luna uses Eclipse while the enemy is under that control. Disruption also creates two illusions of the target that deal additional damage. Shadow Poison adds damage and helps farm camps, while Soul Catcher increases damage taken by the target. This combo is particularly strong when Luna has built her core items and begins actively pushing.
Why this combo is strong:
- Disruption under Eclipse is a guaranteed kill.
- Shadow Poison helps with farming and stacking camps.
- Soul Catcher boosts damage in team fights.
Best item builds in Dota 2 for the mid lane
Chaos Knight and Grimstroke
Chaos Knight and Grimstroke is a combo that wins fights through illusions and crowd control. Grimstroke casts Soulbind, binding two enemies together, while Chaos Knight uses Phantasm to create illusions that attack both targets. Reality Rift pulls an enemy toward Chaos Knight, and Chaos Bolt stuns them. Grimstroke also provides Ink Swell for additional crowd control and damage, while Phantom’s Embrace prevents trapped enemies from using abilities.
Why this combo is strong:
- Soulbind ensures that the illusions will kill trapped enemies.
- Reality Rift pulls two targets at once while Soulbind is active.
- Ink Swell adds crowd control and damage.
Timbersaw and Dazzle
Timbersaw and Dazzle are a combo for those who like to play aggressively on a tough lane. Timbersaw deals massive damage with Whirling Death and Chakram, while Dazzle protects him with Shallow Grave. If Timbersaw finds himself in a dangerous situation, Dazzle simply casts Shallow Grave, and Timbersaw continues to fight, knowing he won’t die. Dazzle also provides Shadow Wave for healing and Poison Touch for slowing. This duo is extremely difficult to counter because Timbersaw is incredibly tanky and deals high damage on his own, while Dazzle in the back ensures he won’t be killed.
Why this duo is strong:
- Shallow Grave protects Timbersaw in fights.
- Dazzle heavily slows enemies and reduces their armor.
- Shadow Wave heals and deals damage.
Bristleback and Witch Doctor
Bristleback and Witch Doctor are a duo that dominates the lane thanks to their sustained damage and healing. Bristleback spams Quill Spray, dealing area-of-effect damage, while Witch Doctor heals him with Voodoo Restoration and adds damage with Maledict. Paralyzing Cask provides crowd control. It’s difficult to trade blows against this duo because Bristleback constantly deals damage, while the Witch Doctor keeps him alive. This duo is strongest against tanks and other melee heroes who are forced to get close to creeps.
Why this combo is strong:
- Voodoo Restoration heals Bristleback on the lane, allowing you to pressure opponents under the tower.
- Quill Spray deals continuous damage to all enemies within a small radius.
- A well-placed Maledict guarantees kills on tank heroes.
Underlord and Warlock
Underlord and Warlock are a combo for those who like to zone out enemies. Underlord uses Firestorm for area-of-effect damage and Pit of Malice for crowd control, while Warlock adds Fatal Bonds, which binds enemies together and distributes damage among them. Shadow Word heals Underlord and deals damage to enemies. Chaotic Offering creates a golem that helps in fights. This duo is especially strong in the mid-game when team fights begin.
Why this combo is strong:
- Fatal Bonds binds enemies and amplifies damage.
- Pit of Malice, combined with Upheaval, literally prevents anyone from escaping.
- Chaotic Offering provides a small amount of crowd control even through a Black King Bar.
Tidehunter and Kunkka
Tidehunter and Kunkka are a team-fight combo. Tidehunter uses Ravage for a mass stun, while Kunkka uses Ghostship and Torrent to capitalize on that crowd control. Kunkka also uses X Marks the Spot to pull an enemy back and Tidebringer for area-of-effect damage. This duo is especially strong in the late game when both ultimates are ready and can completely turn the tide of a fight.
Why this combo is strong:
- Ravage + Ghostship — mass control and damage.
- X Marks the Spot pulls enemies back, making it much harder for them to escape.
- Both heroes have passive effects that increase survivability.
Unconventional and Situational Lane Combos in Dota 2
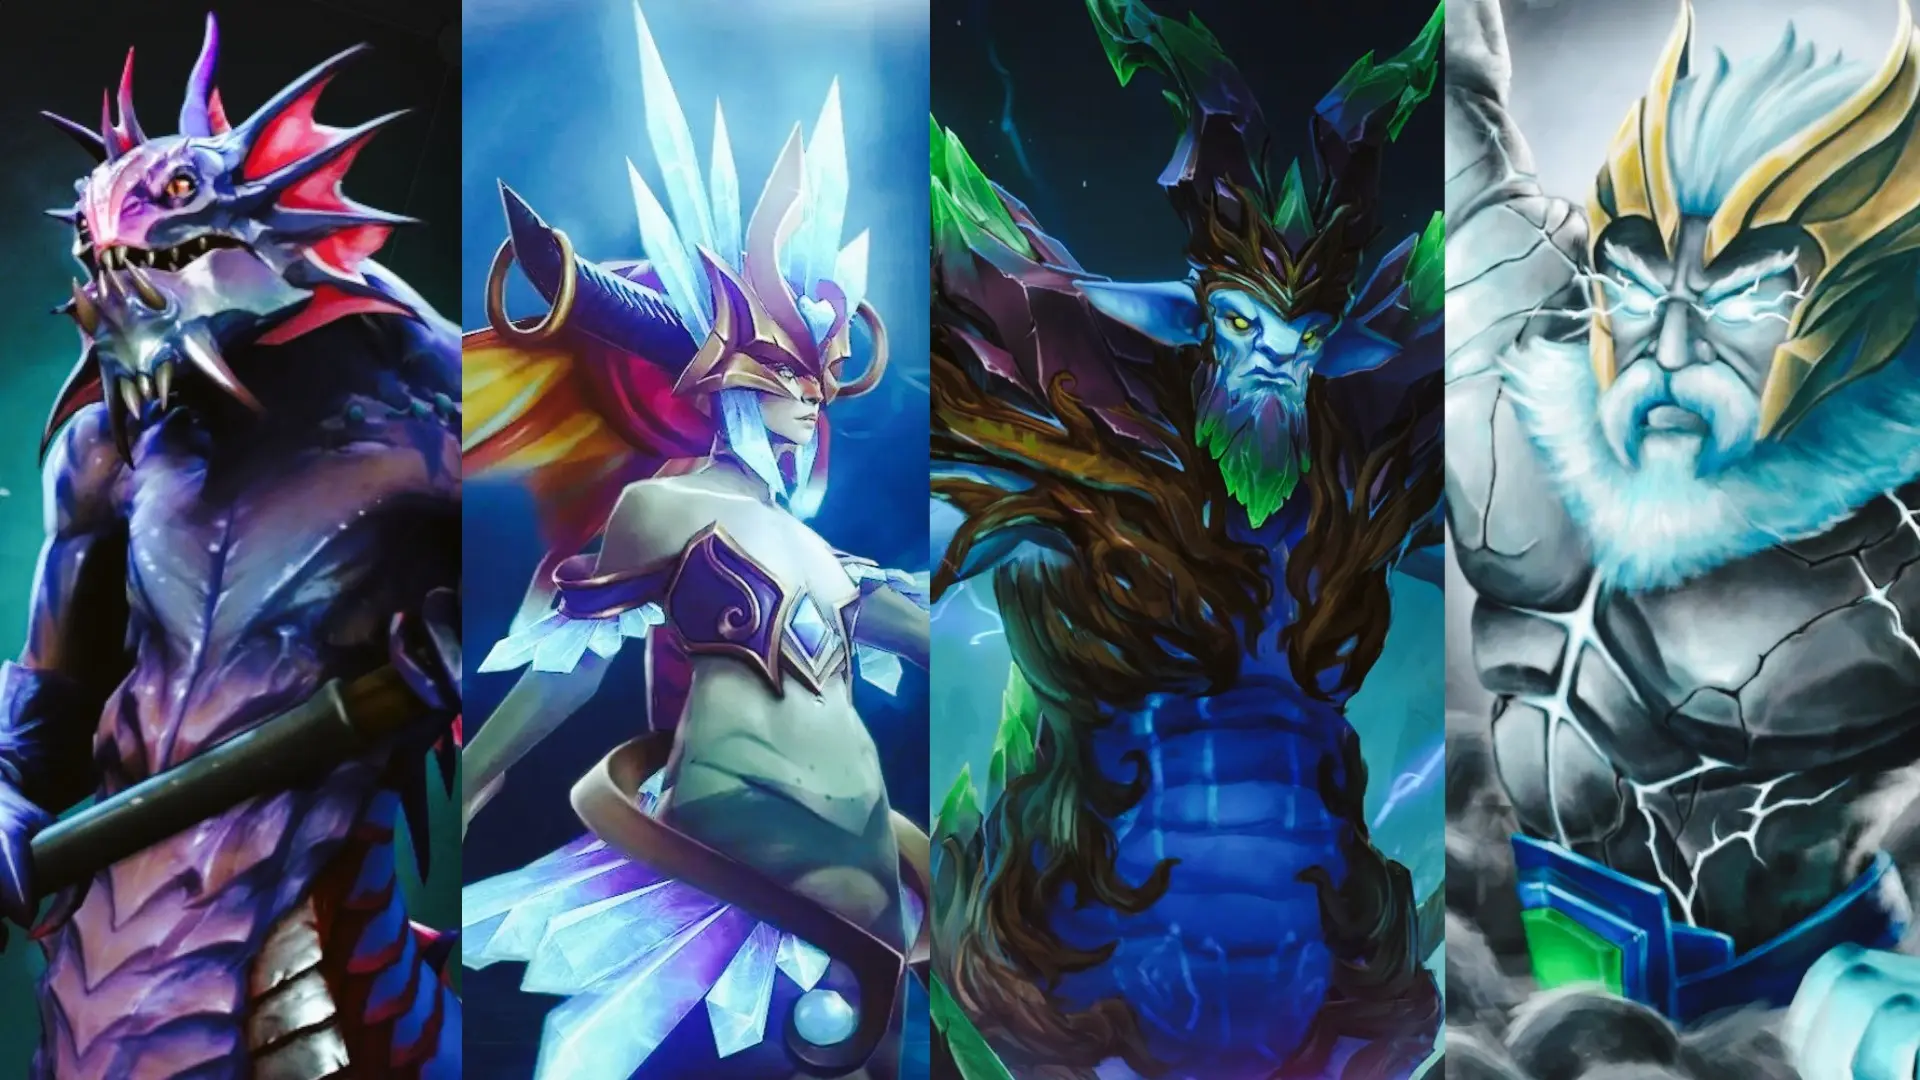
Slardar and Invoker
Slardar and Invoker are a duo for those who love to kill quickly. Slardar uses Corrosive Haze to reduce armor and deal damage, while Invoker follows up with Sunstrike and Chaos Meteor (if he’s nearby). Invoker can also use Cold Snap for additional crowd control and Alacrity to boost Slardar’s attacks. It’s hard to escape them when they’re moving together. Otherwise, Invoker can always back up Slardar with Sunstrike, which is guaranteed to hit thanks to Slardar’s crowd control.
Why this combo is strong:
- Armor reduction helps quickly take down even tanky heroes.
- Sunstrike and Chaos Meteor deal massive damage.
- This duo has a massive amount of crowd control.
Naga Siren and Kunkka
Naga Siren and Kunkka are a team-fight combo. Naga Siren uses Song of the Siren to put all enemies to sleep, while Kunkka uses Ghostship and Torrent while they’re under this control. Ensnare pins the target in place, and Mirror Image creates illusions for additional damage.
Why this combo is strong:
- Song of the Siren ensures that Ghostship hits.
- Ensnare pins the target in place for Torrent.
- Mirror Image’s illusions deal additional damage.
Necrophos and Dazzle
Necrophos and Dazzle are a combo for those who like to play defensively. Necrophos deals damage with Death Pulse and Heartstopper Aura, while Dazzle protects him with Shallow Grave. If Necrophos finds himself in a dangerous situation, Dazzle casts Shallow Grave, allowing Necrophos to keep fighting. Dazzle also provides Shadow Wave for healing and Poison Touch for slowing. This duo is particularly strong against teams with a lot of physical damage.
Why this duo is strong:
- Shallow Grave protects Necrophos in team fights.
- Heartstopper Aura deals sustained damage.
- Death Pulse heals allies and deals damage to enemies.
Pugna and Leshrac
Pugna and Leshrac are a combo for those who like to push lanes quickly. Pugna uses Nether Blast to damage structures, while Leshrac adds Diabolic Edict and Edict to destroy towers. Decrepify makes them vulnerable to magic damage—which this duo deals in massive amounts—and Life Drain can be used to heal Leshrac while he runs around dealing damage.
Why this combo is strong:
- Nether Blast and Diabolic Edict take down towers.
- Decrepify boosts magic damage.
- Life Drain restores health.
Bloodseeker and Zeus
Bloodseeker and Zeus are a combo for those who love global pressure. Bloodseeker uses Rupture to stop enemies, while Zeus follows up with Thundergod’s Wrath and Lightning Bolt. Blood Rite provides bonus damage and a slow, while Thirst reveals enemies with low health. Zeus also provides Arc Lightning for area-of-effect damage. This duo is particularly strong against teams with mobile heroes.
Why this combo is strong:
- Rupture stops mobile heroes.
- Thundergod’s Wrath deals damage anywhere on the map.
- Thirst reveals enemies with low health.
Viper and Venomancer
Viper and Venomancer are a combo for those who love to completely dominate the lane. Viper uses Poison Attack and Nethertoxin to reduce magic resistance and deal sustained damage, while Venomancer adds Venomous Gale and Poison Sting. Together, they create a situation where enemies constantly lose health and cannot move properly, thereby falling behind in resources. Viper’s Ultimate reduces attack speed and deals massive damage, while Venomancer’s Noxious Plague applies area-of-effect debuffs.
Why this combo is strong:
- Poison Attack and Venomous Gale deal sustained damage.
- Nethertoxin reduces magic resistance.
- Noxious Plague applies area-of-effect debuffs.
Frequently Asked Questions (FAQ)
Juggernaut и Shadow Shaman, Troll Warlord и Oracle, Medusa и Treant Protector, Luna и Shadow Demon. Эти пары обеспечивают керри выживаемость и гарантированные убийства на линии.
Chaos Knight и Grimstroke, Timbersaw и Dazzle, Bristleback и Witch Doctor, Underlord и Warlock, Tidehunter и Kunkka, Pugna и Leshrac, Viper и Venomancer. Все они доминируют на линии за счёт контроля, урона или живучести.
Slardar и Invoker, Bloodseeker и Zeus. Обе пары убивают врагов в любой точке карты: Slardar снижает броню под Sunstrike, а Bloodseeker ловит цель через Rupture под Thundergod's Wrath.
Однозначного лидера нет, но Luna и Shadow Demon выделяются гарантированным убийством через Disruption под Eclipse, а Bristleback и Witch Doctor — постоянным уроном и хилом, которые почти невозможно продавить.
Juggernaut и Shadow Shaman, Bristleback и Witch Doctor, Necrophos и Dazzle, Viper и Venomancer. У них простые механики, понятные комбинации и высокая отдача даже при базовом уровне игры.
Pugna и Leshrac. Nether Blast и Diabolic Edict быстро сносят башни, Decrepify усиливает магический урон, а Life Drain лечит Leshrac, пока он наносит урон по строениям.
Viper и Venomancer. Постоянный урон от Poison Attack и Venomous Gale, снижение сопротивления магии через Nethertoxin и дебаффы по площади от Noxious Plague не дают врагам ни двигаться, ни нормально размениваться.