How to Record Your iPhone Screen: With or Without Audio and Without Apps
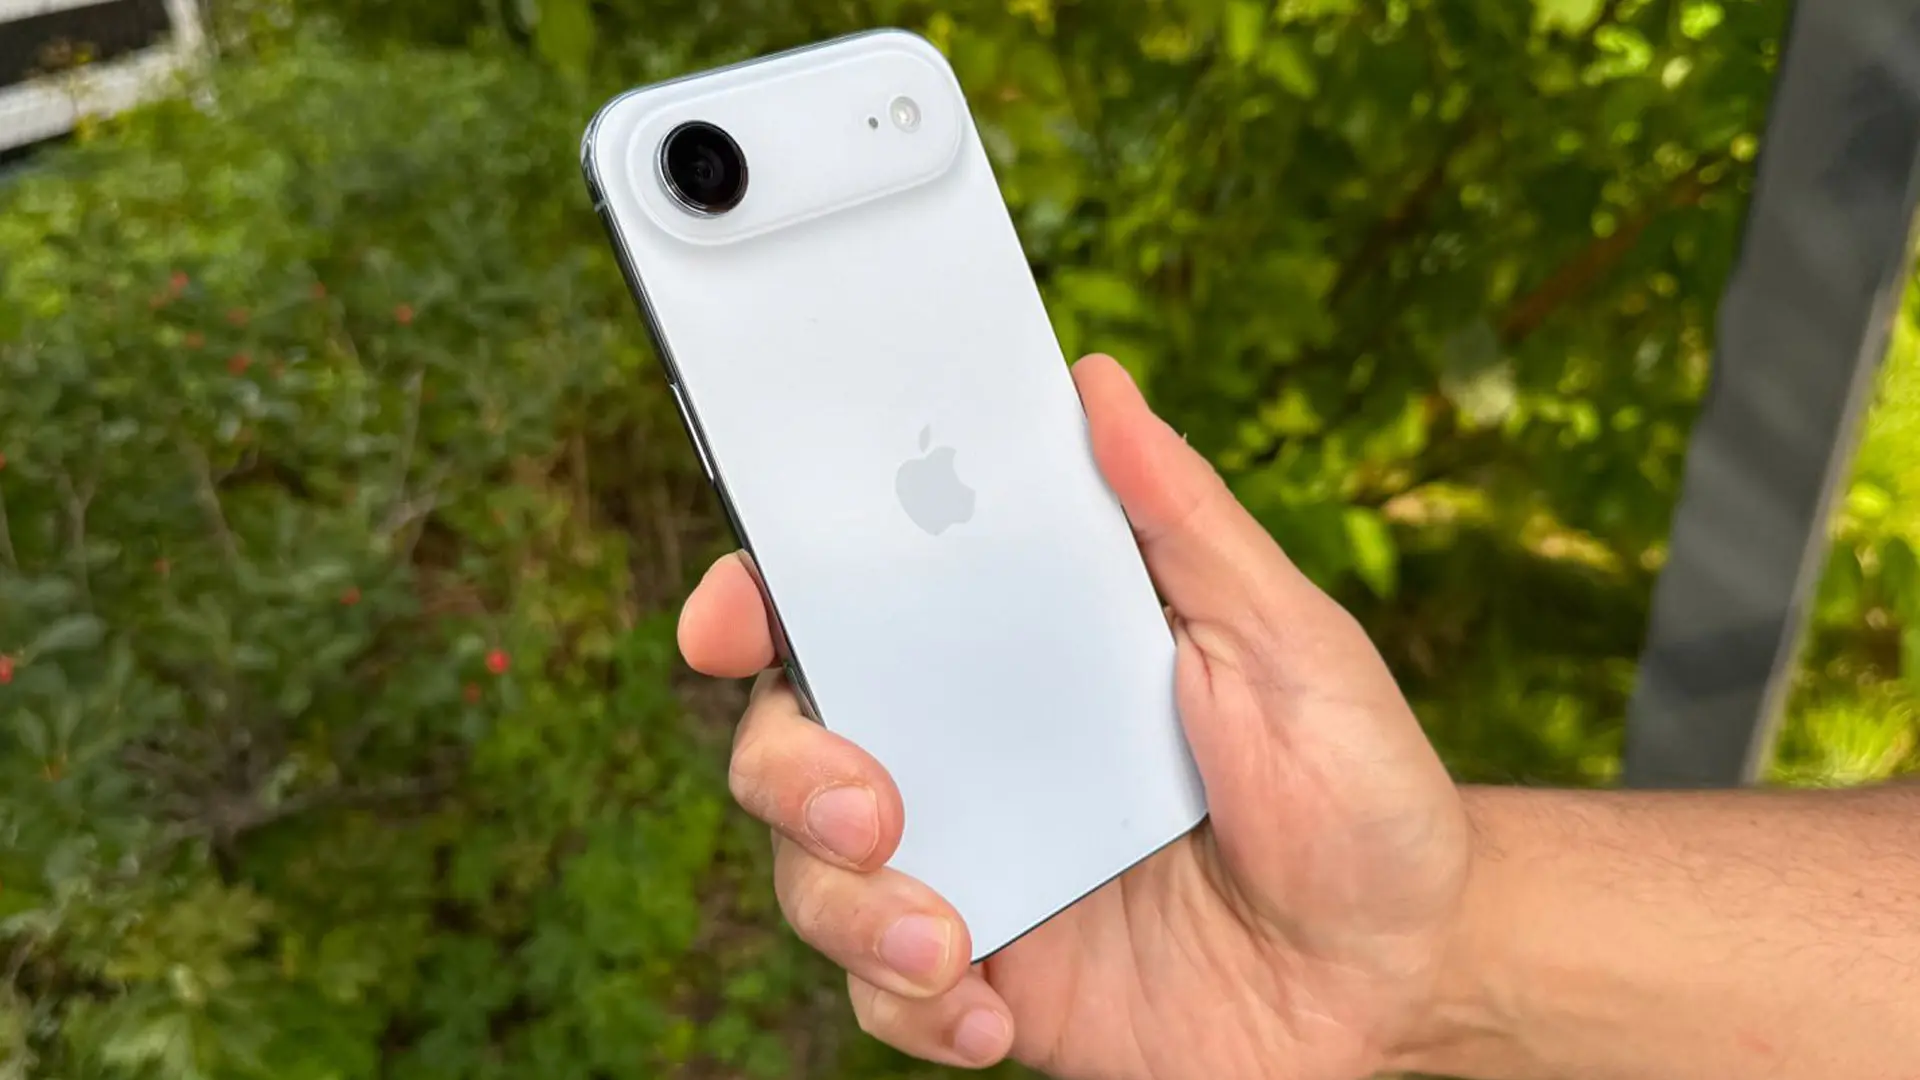
Screen recording on an iPhone lets you save a video of what’s happening on the screen without installing any additional apps. This feature is built into iOS and is great for recording games, tutorials, video calls, app interactions, and other on-screen activities. In this article, we’ll show you how to enable screen recording on your iPhone, record videos with audio, and troubleshoot common issues.
How to Record Your iPhone Screen
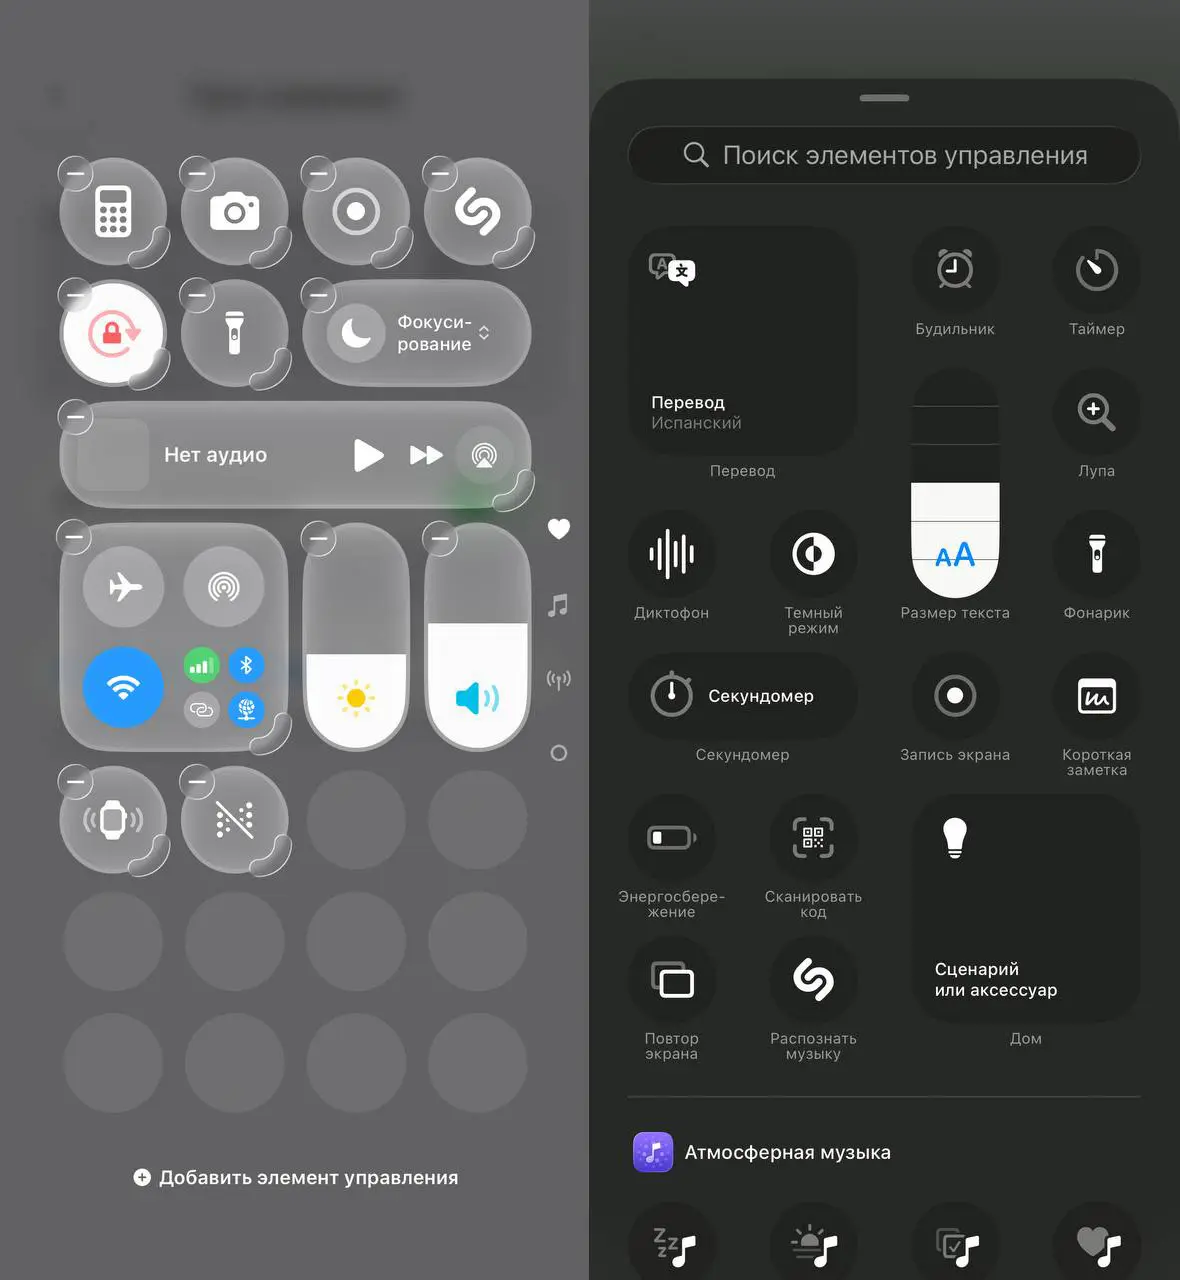
The screen recording feature is built into the iPhone and is available on devices running a recent version of iOS. If the record button isn’t in the Control Center, you can add it in Settings.
To record your iPhone screen:
- Swipe down the notification shade and press and hold to open Settings.
- Find “Screen Recording” and add it to the Control Center.
- Open the screen you want to record.
- Swipe down from the top-right corner of the screen (or up from the bottom on models with a home button) to open the “Control Center.”
- Tap the “Screen Recording” button and wait for the three-second countdown to end.
- To stop recording, tap the red indicator at the top of the screen and select “Stop,” or tap the record button in the “Control Center” again.
Once the recording is complete, the video will automatically be saved to “Photos,” where you can view, trim, send, or save it in a different format.
How to Record Your iPhone Screen with Audio
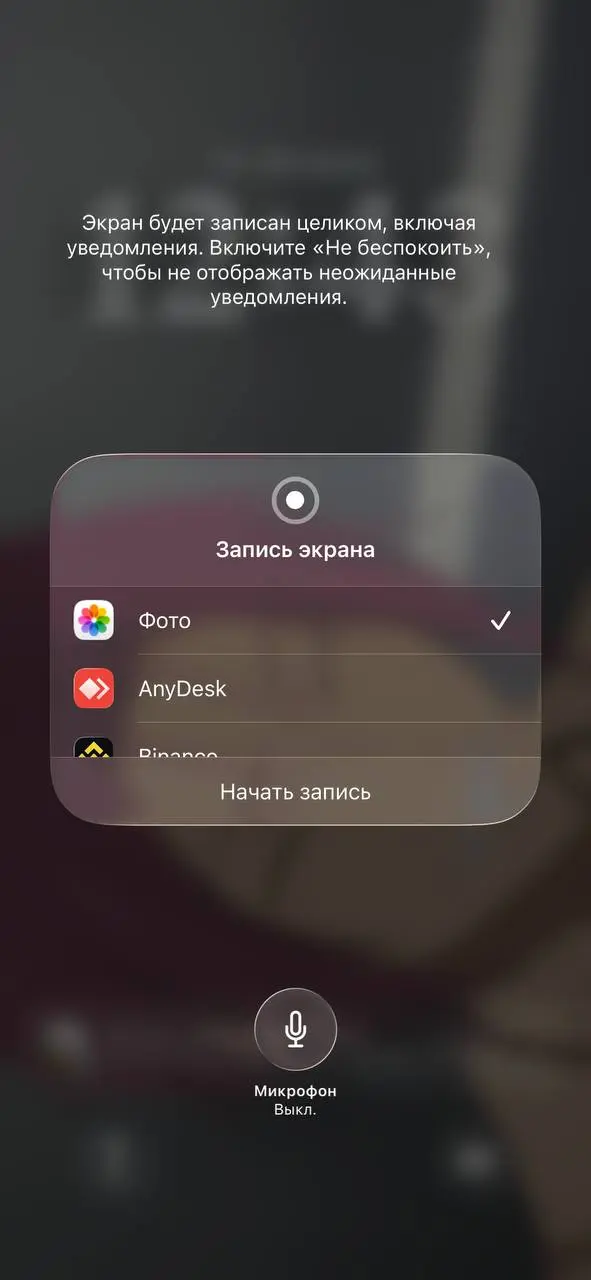
By default, the iPhone does not record system sounds in all apps. If you want to record your voice while recording the screen, you must turn on the microphone before starting the recording.
Here’s how:
- Open “Control Center.”
- Press and hold the “Screen Recording” button.
- In the menu that opens, tap the “Microphone” icon so that it turns red and the “Microphone On” status appears.
- Tap “Start Recording.”
- Screen recording will then begin, along with your voice.
If you only want to record what’s happening on the screen without commentary, leave the microphone turned off. In this case, the recording will be saved without audio from the external microphone.
Why Screen Recording Isn’t Working
If screen recording on your iPhone won’t start or saves with errors, the problem is usually related to device settings or app restrictions. Check the following:
1. The recording button is missing from the Control Center—add it via Settings > Control Center > Screen Recording.
2. Insufficient free storage space.
3. Screen Time restrictions are enabled—open “Settings” > “Screen Time” > “Content & Privacy” and make sure screen recording isn’t blocked.
4. No audio is being recorded—before starting the recording, press and hold the screen recording button in the Control Center, then turn on the microphone.
5. Black screen or no sound in some apps—some services with protected content do not allow video or audio recording due to copyright protection.
If the problem persists, try restarting your iPhone, updating to the latest version of iOS, and trying the recording again. In many cases, this helps resolve temporary system glitches.
The Best Screen Recording Apps for iPhone
1. Record it!
Record it! is one of the most popular screen recording apps for the iPhone. It lets you record your screen, add voiceover from the microphone, and overlay reactions from the front-facing camera after recording. It’s great for creating tutorials, game reviews, and videos for social media. There’s a free version, but some features require a subscription.
2. TechSmith Capture
TechSmith Capture is a completely free app with no watermarks. It records your screen in high quality and quickly exports videos to your device or to the Camtasia editor. It’s a great option for educational materials and work instructions.
3. DU Recorder
DU Recorder offers screen recording with audio, a built-in video editor, and the ability to trim clips and add text. The app is often used to record gameplay and create short videos without using a third-party editor. The app is free to start with, but some features are only available with a purchase.
4. Go Record
Go Record lets you record your screen with audio, use the front-facing camera, and edit your videos right within the app. The interface is simple, so the app is suitable even for those recording their iPhone screen for the first time. It’s available for free, but some features are only included in the paid version.
5. Screen Recorder – Record Video
Screen Recorder supports high-resolution screen recording, voice recording via the microphone, and basic video editing for free. The paid version offers additional editing tools and unlimited export options. The app is ideal for recording games, video calls, and educational content.
Frequently Asked Questions (FAQ)
Да. В iPhone есть встроенная функция записи экрана, которую можно включить через Пункт управления.
После завершения записи видео автоматически появляется в приложении «Фото», где его можно просмотреть, отредактировать или отправить.
Да. Перед началом записи достаточно включить микрофон, удержав кнопку записи экрана в Пункте управления.
Некоторые приложения, особенно стриминговые сервисы, запрещают запись видео из-за защиты авторских прав. В таких случаях iPhone может записывать только звук или показывать чёрный экран.
Жёсткого ограничения нет. Продолжительность записи зависит от объёма свободной памяти на устройстве и уровня заряда аккумулятора.